This post contains affiliate links, which means I may earn a commission if you purchase through those links (at no extra cost to you).
People go wild for these No-Bake Peanut Butter Bars! They only take 5 ingredients and 10 minutes (plus chilling time) to make, and they take just seconds to disappear. This is my grandma’s recipe which she dubbed “Almost Reese’s.”
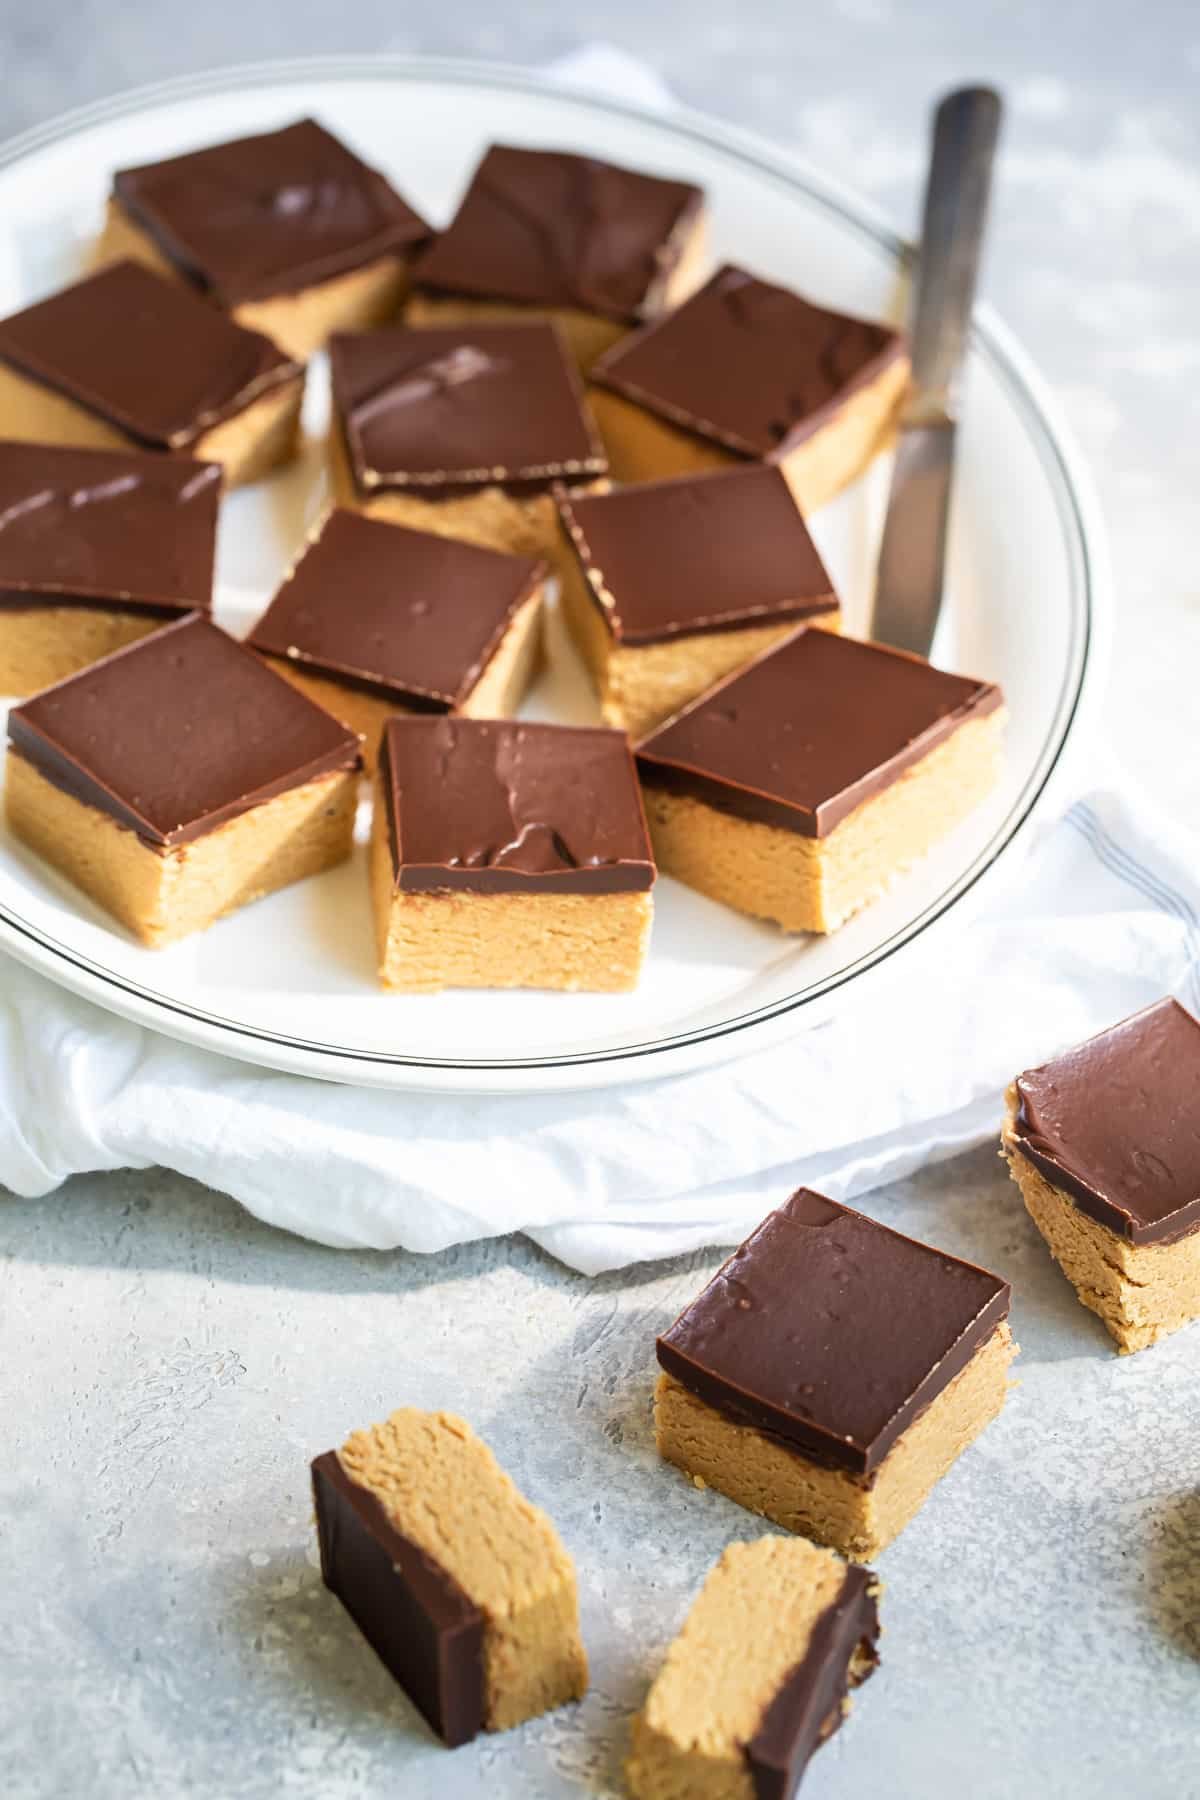
These no-bake peanut butter bars are a must-make for anyone who loves the timeless combination of chocolate and peanut butter.
I’ve had this recipe on my site for years, and it’s always been popular. The only issue is, some readers complained the peanut butter mixture was “grainy” if the brown sugar didn’t dissolve properly in the melted butter.
We reworked the recipe and swapped out all the brown sugar for an equal amount of graham cracker crumbs. I personally think it’s better (sorry grandma!) and there are no issues with graininess anymore. I hope you love it! And if you like the old way better, you can continue to 1 ½ cups brown sugar instead of the graham cracker crumbs.
Table of Contents
Recipe ingredients
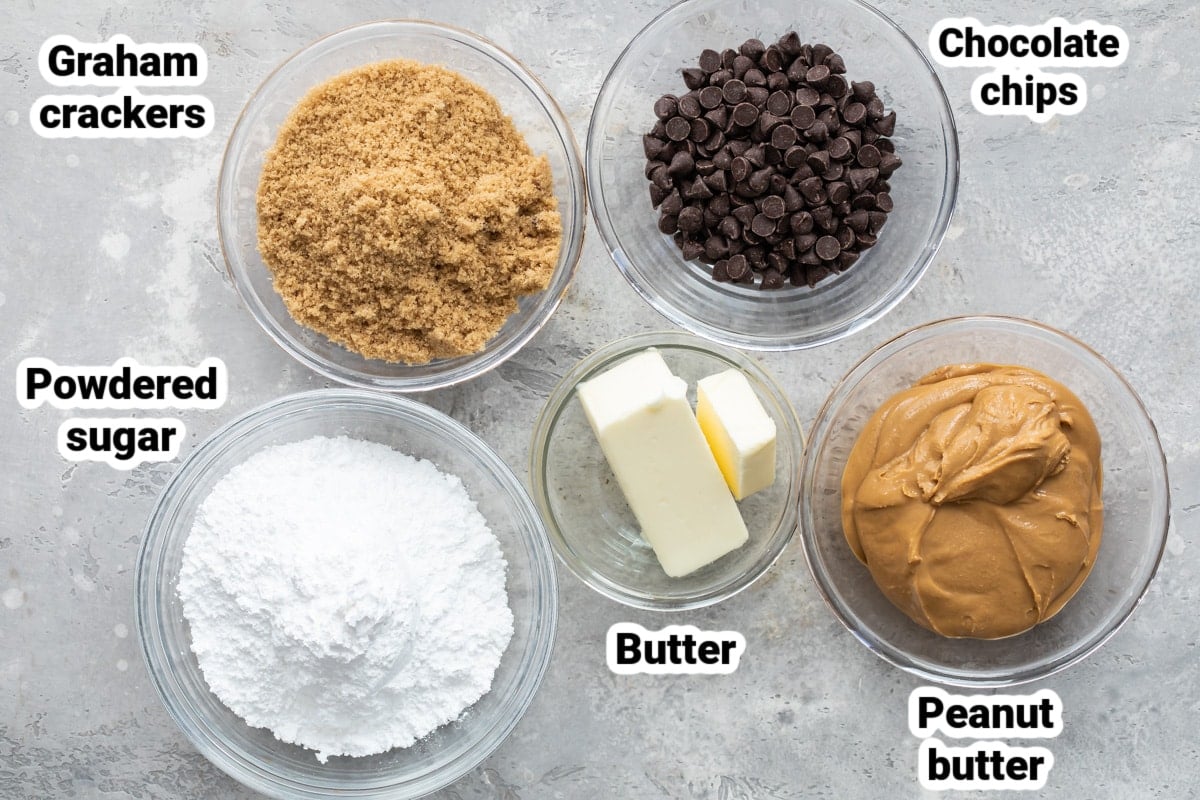
At a Glance: Here is a quick snapshot of what ingredients are in this recipe.
Please see the recipe card below for specific quantities.
Ingredient notes
- Butter: Cold butter usually softens up in about 30 minutes when left out at room temperature (much longer if frozen). To soften butter in the microwave, cut each stick of butter in half, unwrap, and place on a microwave-safe plate. Then cook the butter at 10% power (that’s ten percent!) for 1 minute. Afterward, gently press on the butter with your finger. If still too firm, cook for another 40 seconds at 10% power.
- Graham cracker crumbs: The original version of this recipe was prone to grittiness (the brown sugar would not always dissolve completely in the melted butter). To fix this issue, we updated the recipe to use graham cracker crumbs instead of brown sugar, and it’s fabulous. But if you miss the old way, just substitute an equal amount of brown sugar for the graham cracker crumbs.
- Peanut butter: I use store-bought peanut butter for this recipe, and Skippy is my favorite brand.
- Chocolate: I like regular semi-sweet chocolate chips, but you can use milk chocolate if you prefer that.
Step-by-step instructions
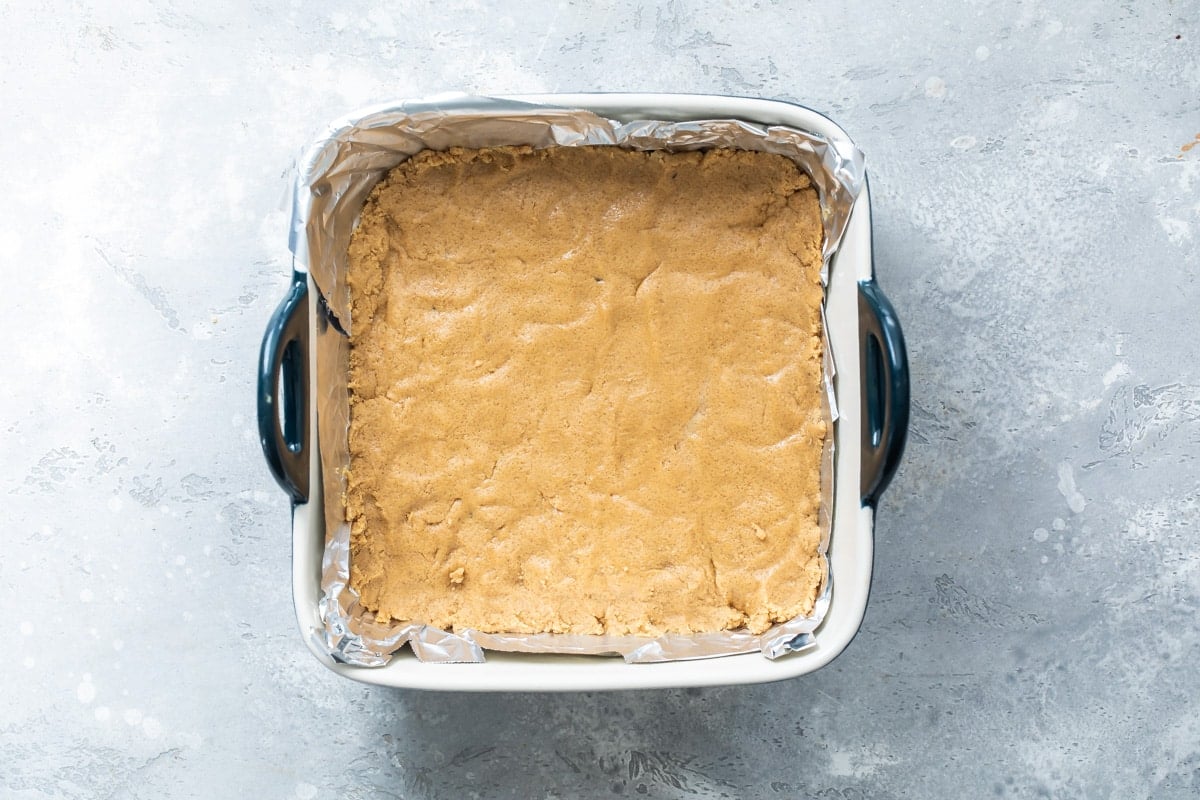
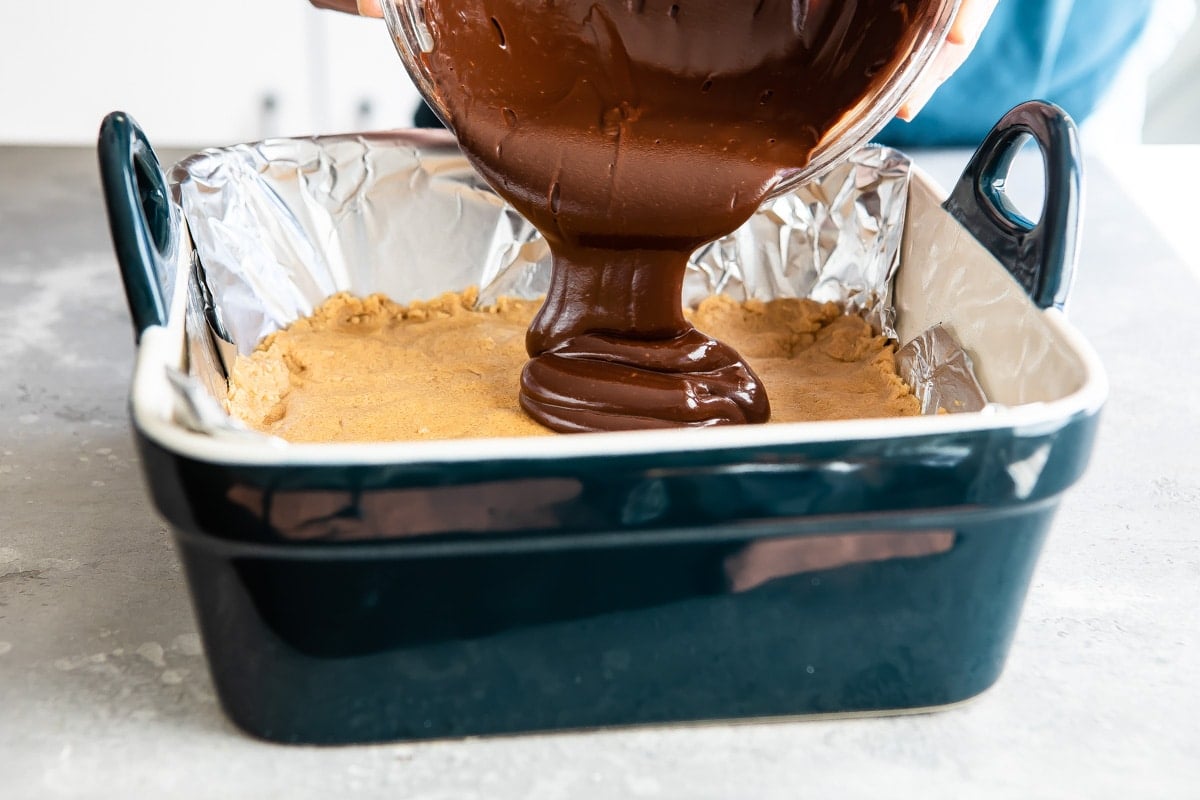
- Line an 8-inch or 9-inch square baking pan with a foil sling for easy cleanup and coat with nonstick spray. In a large bowl, cream 5 tablespoons butter, graham crackers, and powdered sugar until smooth. Stir in peanut butter.
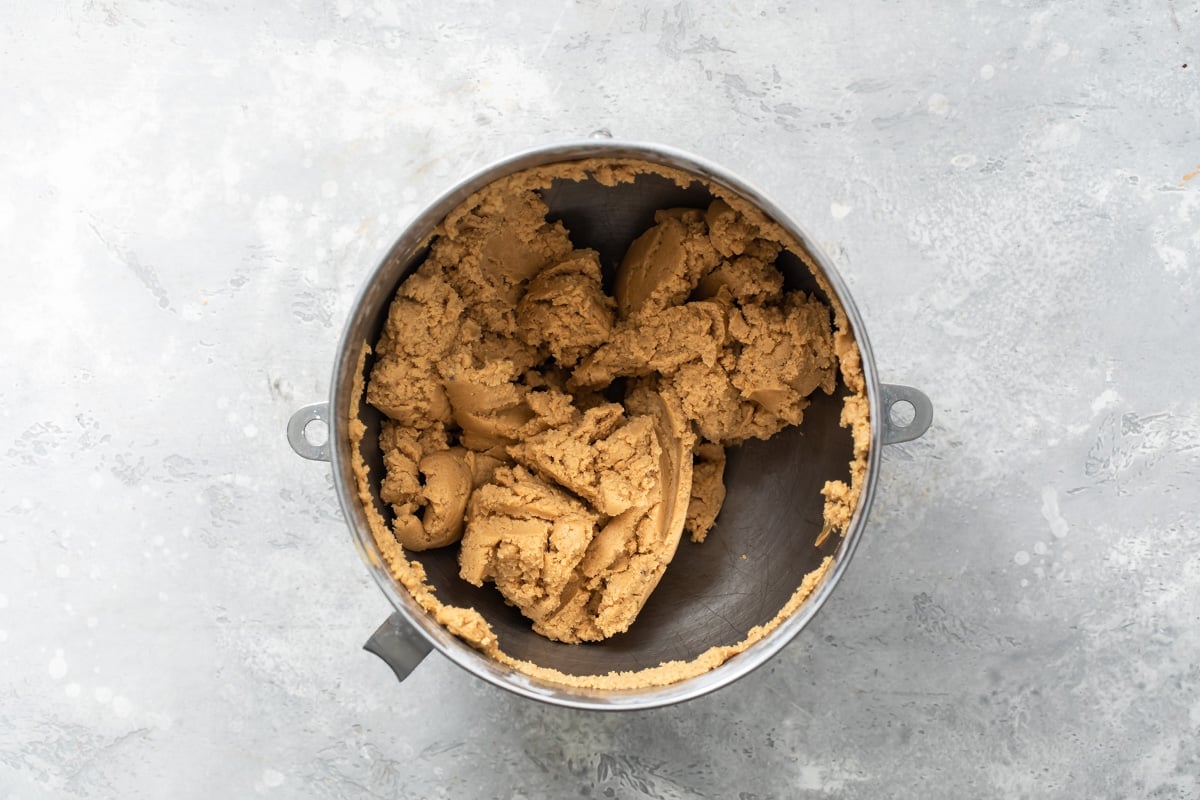
- Mix well and press into prepared pan.
- In a small, microwave-safe bowl, heat chocolate chips and remaining 5 tablespoons butter for 1 minute. Stir carefully and continue to microwave in 30-second increments until smooth, stirring after each increment. Pour over peanut butter filling and spread evenly.
- Chill until completely firm, at least 3 hours or overnight. Let stand 10 minutes at room temperature before serving. Store leftovers in the refrigerator.
Recipe tips and variations
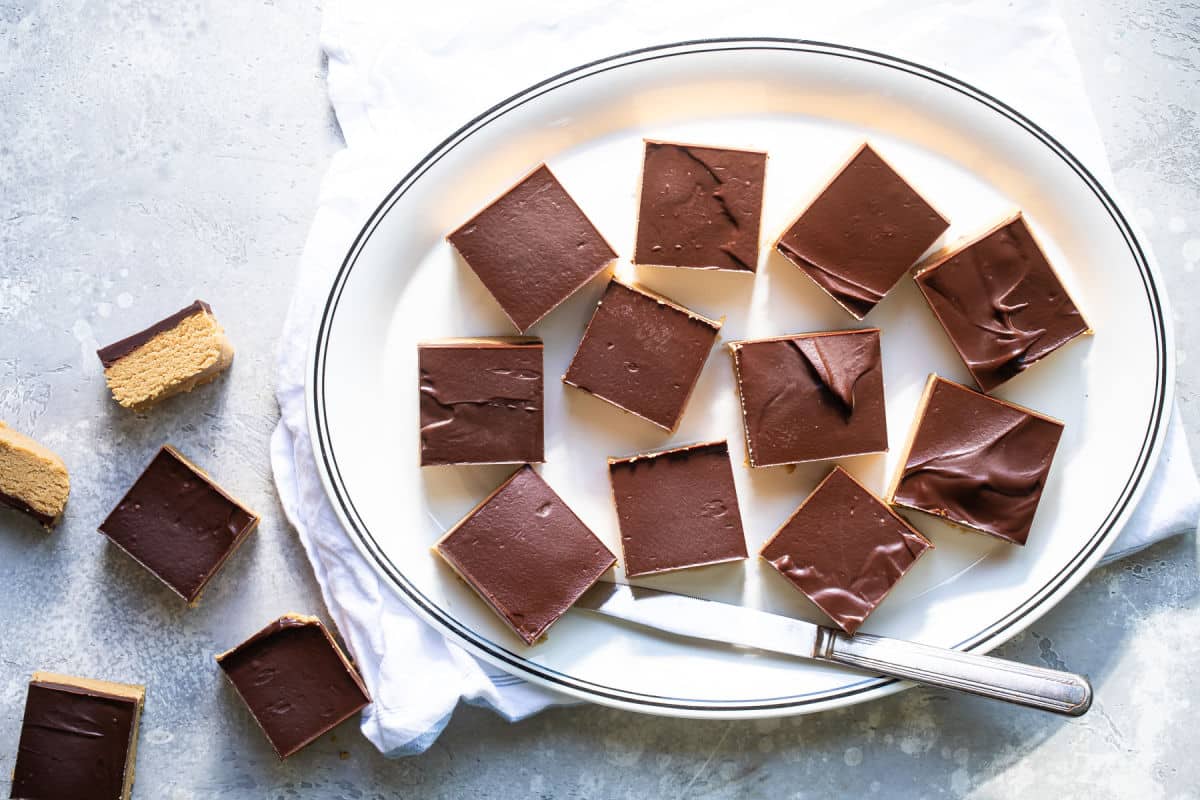
- Yield: I calculated the yield based on using an 8-inch by 8-inch pan and cutting the bars into 2-inch squares. This makes 16 bars. Your yield may vary depending on which size pan you use and how you cut the bars. The bars are very rich, so smaller pieces may be appreciated by some guests.
- Storage: Store covered in the refrigerator for 2 to 3 weeks. Or, if you live in a cold climate and the temperature is 40 degrees or less, feel free to store these in the pan in your garage or on your patio.
- Make ahead: These bars need some time to set up, so plan on chilling them at least a few hours, preferably overnight.
- Freezer: The Peanut Butter Bars can be frozen for up to 2 months. You can either freeze them unsliced in the pan, or slice them into pieces and store them in layers between parchment paper.
Recipe FAQs
Some cooks prefer crunchy peanut butter for the bottom layer, and even chop up peanuts for pressing over the warm chocolate before it sets up. Get creative!
If I’m using a 9″x 13″ baking pan for this recipe, I will usually make a double batch. BUT, readers have used a larger pan for a single recipe and have been happy too, claiming it makes a thinner bar that is more like the real thing.
Christmas Crack
You’ll love this salty, sweet, crunchy, chewy saltine cracker candy, sometimes known as Christmas Crack, and you can make it in 15 minutes with just 5 ingredients! I grew up eating Saltine Cracker Candy every…
View Recipe
More homemade confections
Candy Recipes
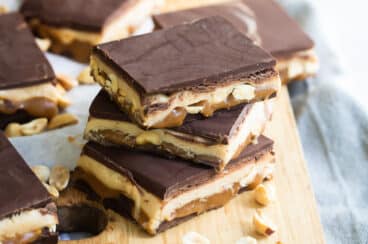
Homemade Snickers Bars

Candy Recipes
OREO Cookie Balls

Candy Recipes
Peanut Butter Balls Recipe
Candy Recipes
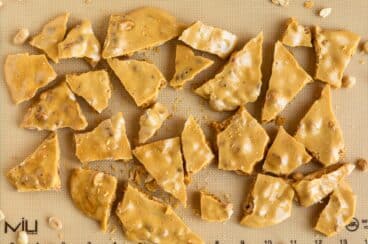
Easy Microwave Peanut Brittle
Join Us
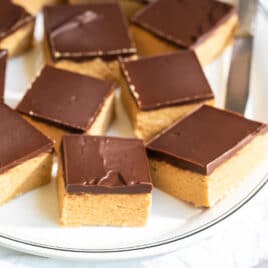
No Bake Peanut Butter Bars
Ingredients
- 10 tablespoons butter room temperature, divided (see note 1)
- 1 1/2 cups graham cracker crumbs (see note 2)
- 1 3/4 cups powdered sugar
- 1 1/2 cups peanut butter (see note 3)
- 1 cup semi-sweet chocolate chips or milk chocolate chips (see note 4)
Instructions
- Line an 8-inch or 9-inch square baking pan with a foil sling for easy cleanup and coat with nonstick spray.
- In a large bowl, cream 5 tablespoons butter, graham crackers, and powdered sugar until smooth. Stir in peanut butter. Mix well and press into prepared pan.
- In a small, microwave-safe bowl, heat chocolate chips and remaining 5 tablespoons butter for 1 minute. Stir carefully and continue to microwave in 30-second increments until smooth, stirring after each increment. Pour over peanut butter filling and spread evenly.
- Chill until completely firm, at least 3 hours or overnight. Let stand 10 minutes at room temperature before serving. Store leftovers in the refrigerator.
Recipe Video
Notes
- Butter: Cold butter usually softens up in about 30 minutes when left out at room temperature (much longer if frozen). To soften butter in the microwave, cut each stick of butter in half, unwrap, and place on a microwave-safe plate. Then cook the butter at 10% power (that’s ten percent!) for 1 minute. Afterward, gently press on the butter with your finger. If still too firm, cook for another 40 seconds at 10% power.
- Graham cracker crumbs: The original version of this recipe was prone to grittiness (the brown sugar would not always dissolve completely in the melted butter). To fix this issue, we updated the recipe to use graham cracker crumbs instead of brown sugar, and it’s fabulous. But if you miss the old way, just substitute an equal amount of brown sugar for the graham cracker crumbs.
- Peanut butter: I use store-bought peanut butter for this recipe, and Skippy is my favorite brand.
- Chocolate: I like regular semi-sweet chocolate chips, but you can use milk chocolate if you prefer that.
- Yield: I calculated the yield based on using an 8-inch by 8-inch pan and cutting the bars into 2-inch squares. This makes 16 bars. Your yield may vary depending on which size pan you use and how you cut the bars. The bars are very rich, so smaller pieces may be appreciated by some guests.
- Storage: Store covered in the refrigerator for 2 to 3 weeks. Or, if you live in a cold climate and the temperature is 40 degrees or less, feel free to store these in the pan in your garage or on your patio.
- Make ahead: These bars need some time to set up, so plan on chilling them at least a few hours, preferably overnight.
- Freezer: The Peanut Butter Bars can be frozen for up to 2 months. You can either freeze them unsliced in the pan, or slice them into pieces and store them in layers between parchment paper.
Can I add oats to the recipe and what else would be needed to add?
How much peters chocolate melts should I substitute for the chocolate chips? Prefer using them In recipes calling for chips as less paraffin
Hi Marilyn, I wish I knew! I never actually heard of Peters Chocolates before, but after visiting their website, it looks like I’m probably missing out big time. I guess I would assume you’d use the same amount as chips, but if you are familiar with them you probably know more than I do. Wish I could help you more. Thanks for introducing me to them. I am going to track some down and play around and put them to use! -Meggan
I’d like to make this tonight and was wondering if people are using SKIPPY type peanut butter that already has sugar in it OR using natural non-sugar added peanut butter.
Would it hurt to cut back on the brown sugar and powdered sugar amounts if I’m using the Skippy? We tend to like our sweets a bit less sweet. 🙂
I don’t want to mess it up and would love to get feedback.
Thanks,
Donna
Hi Donna, my Grandma always used regular peanut butter, like skippy, so that is the only way I have ever tested it. Unfortunately, I won’t have time to test it for you in the next few days. Some people have said that they are too sweet, but I don’t know what it would do to the consistency if you changed the sugar. My initial thought is to use a natural peanut butter and keep the sugar amounts the same, just because I don’t think that would make the consistency that different. I’m sorry that I don’t have better information for you right now. Good luck! -Meggan
Couple of brands i liked when making these…i used the Adams no stir peanut butter, half creamy and half crunchy..and i also use the Ghiradelli Blue bag Milk chocolate chips! So delicious!!
How firm are these bars? I’m making a chocolate peanut butter cake for my son’s birthday and was thinking I could either cut letters out of the bars or simply form them into letters instead of putting them in a pan. Suggestions? Would they stay together if I coated them in chocolate after they are chilled?
Hi Sheryl, yes I think they would stay together if they are chilled. If you know the cake will be sitting at room temperature for a long time, you could even freeze them to give them a little extra staying power. But if you serve it straight from the refrigerator, you should be fine just like hat.
Here are all my ideas:
If you decide to go with the cookie-cutter letters, you might want to use a larger pan (such as a 9×13) for the peanut butter base so you have more to work with. In fact, I would spread the pb base, chill it, cut the letters but NOT REMOVE THEM, and remove (sort of peel away) the remaining pb base that isn’t letters. Then I would transfer the pan to the freezer (on wax or parchment paper so they don’t stick) so those letters are frozen solid, and then I would coat them in the chocolate. That way you are working with the stablest version of the pb letter as possible.
If you are going to form the letters by hand, you’ll have to see how it handles as the pb base warms in your hands. Frequent re-chilling may be required (depending on if your son’s name is Tim or Bartholomew). I would still probably freeze the formed letters before coating them in chocolate.
I hope this was helpful. I love your idea. Good luck! If you have any other questions or you think I didn’t answer your sufficiently, just let me know. Thank you! -Meggan
I am this is a few months old.. But when I made these last week.. I was keeping them out in my garage only – set the chocolate out there and everything. I found I like them a lot better at room temperature – I like the peanut butter consistency better. Anyways.. Having ate some being cold, and some being room temp.. They help up fine being cut, and thrown into a baggy.. So I dont see why this wouldn’t work.
Do I double or triple the recipie for a 9×13 pan?
Hi Nancy, I would double the recipe for a 9×13 pan. The final product will just be a little bit taller than they are in my recipe, so you will be able to get away with cutting them a little smaller than if you were using an 8×8 or 9×9 pan. -Meggan
I make these so often, they are the best dessert in the entire world. I love Reese’s, it’s my favorite treat, and these are seriously so close to that but even better. Seriously amazing. My son is allergic to gluten, too, so the fact that these are gluten-free is so freaking awesome. Thanks for sharing!!!
It’s the next morning. They are fantastic, just tried one. No issues with separation of chocolate. I’m going to try the Twix recipe next.
Thank you for the recipe!
Just put them in the fridge to chill.. They look great.
Dang these are good! My three sons devoured the whole tray in a weekend. Easy enough to modify and make a double batch next time.