This post contains affiliate links, which means I may earn a commission if you purchase through those links (at no extra cost to you).
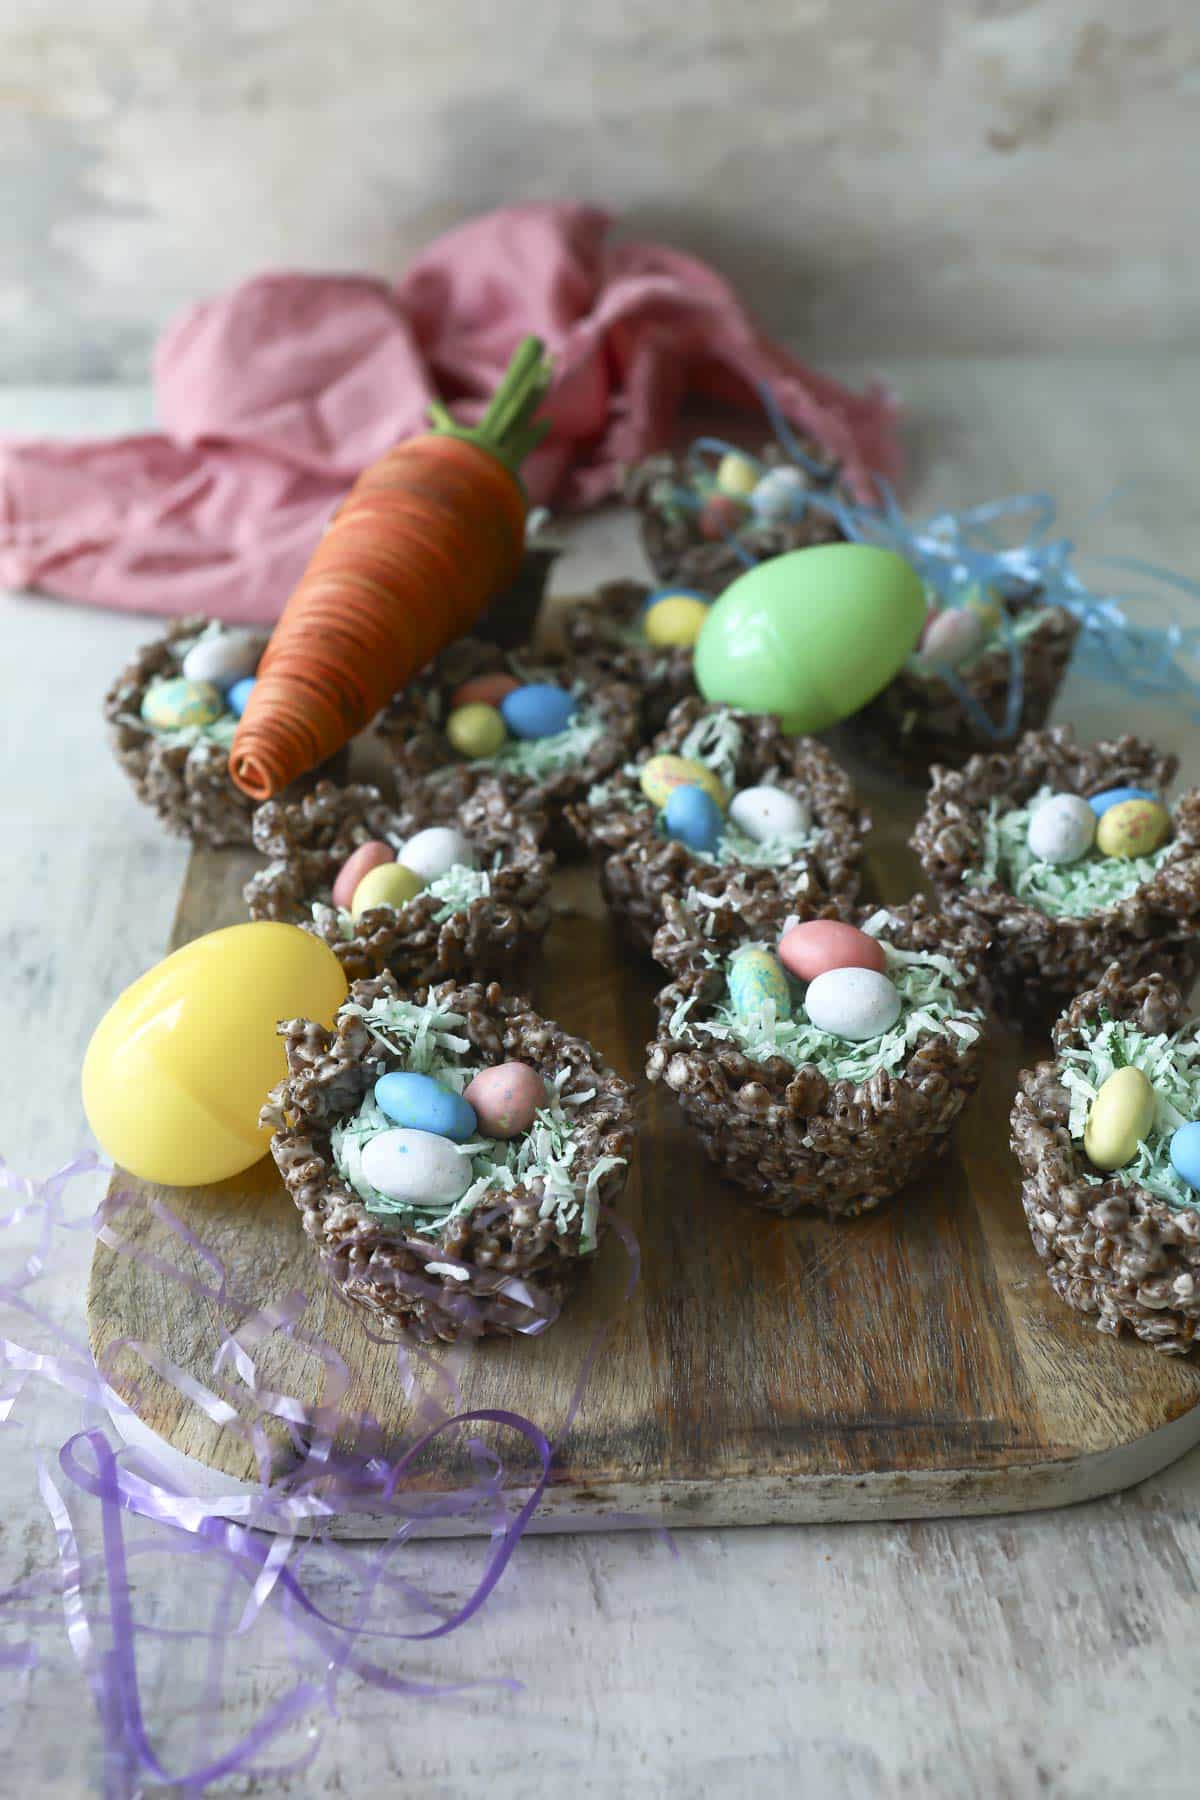
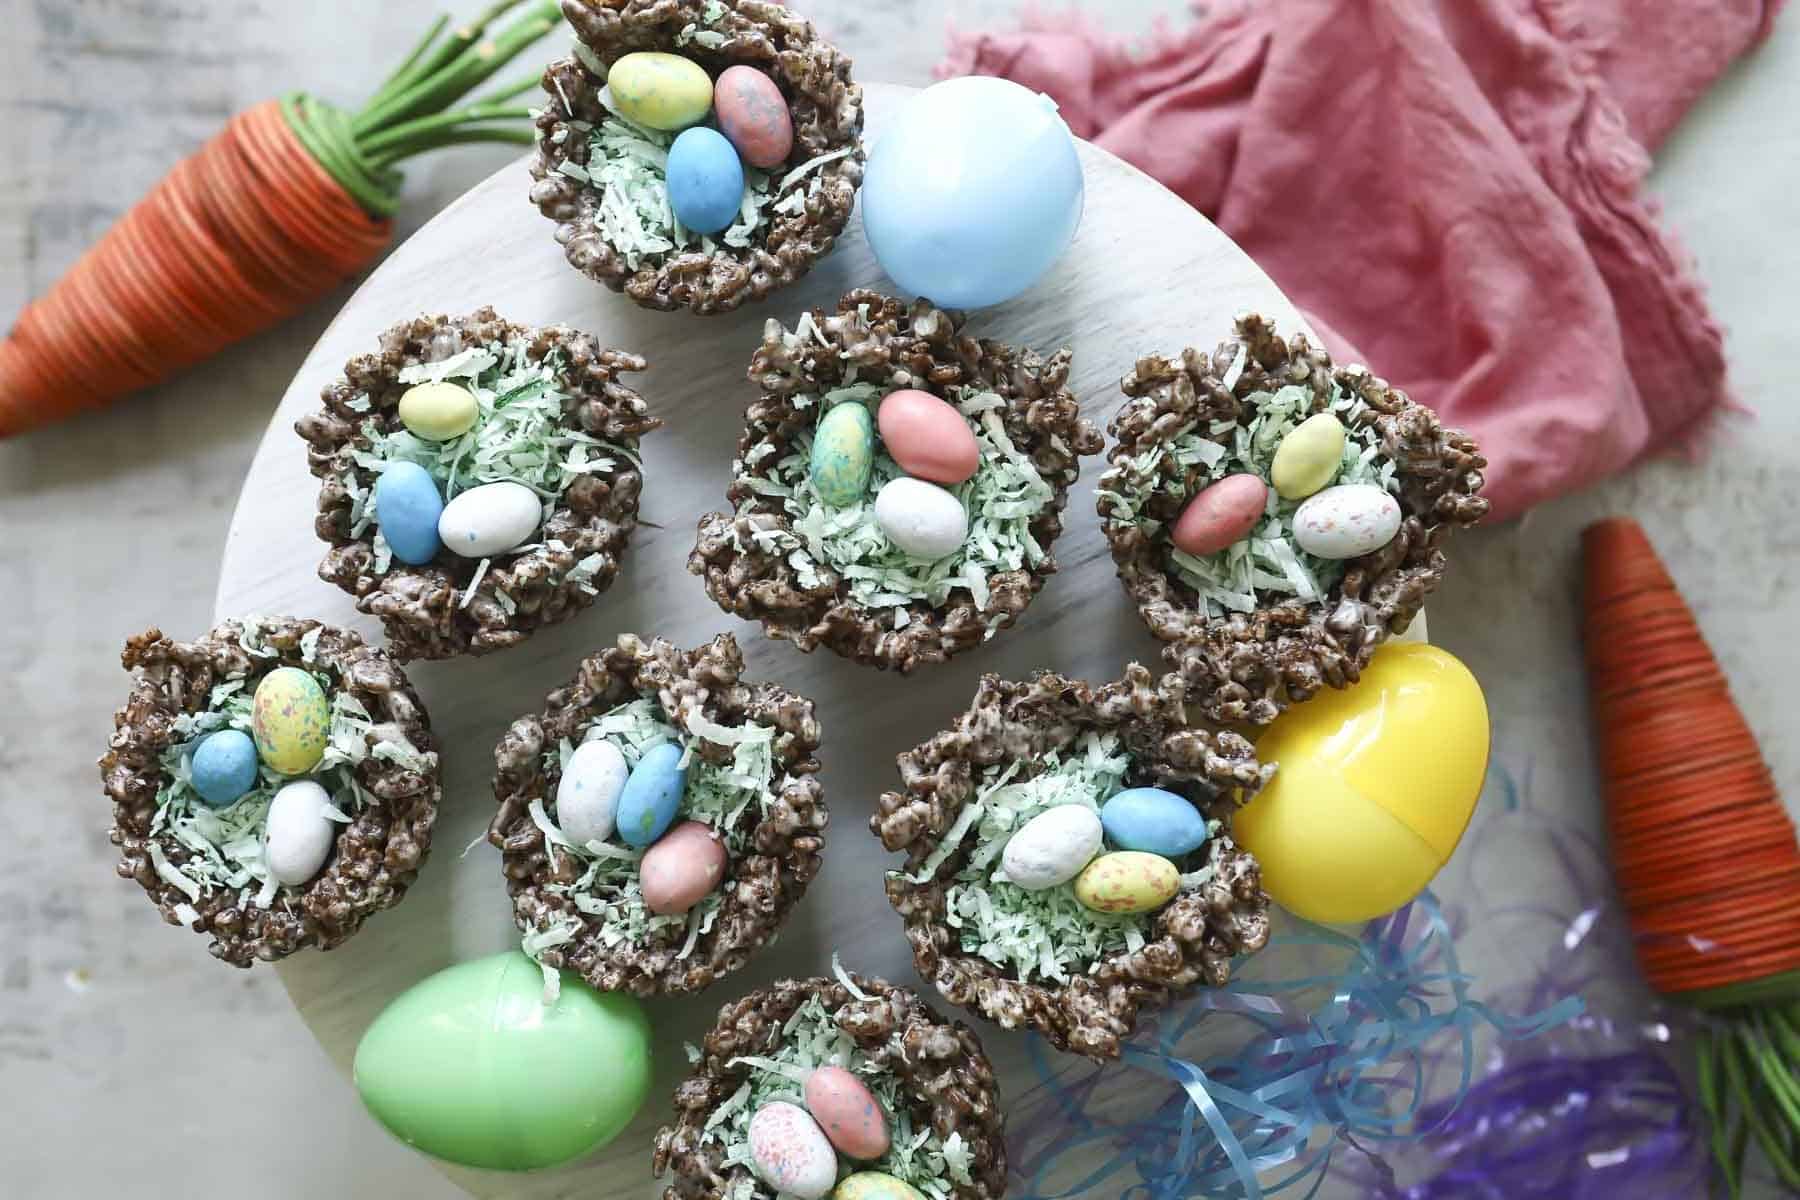
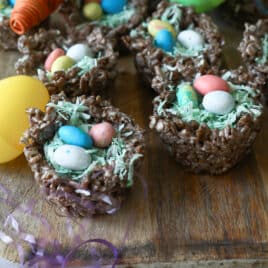
These Easter Rice Krispie Treats are shaped into sweet little nests and decorated with green coconut “grass” and candy eggs. They’re festive, nostalgic, and surprisingly easy, making them perfect for Easter baskets, classroom treats, or a spring dessert table.
This recipe builds on my classic Rice Krispie Treats, with one simple twist: Cocoa Krispies create chocolatey nests that look just like something the Easter Bunny might leave behind.
Meggan’s Notes
Holiday treats don’t need to be complicated to feel special. I love recipes like this because they start with something familiar and beloved, then get a seasonal glow-up that makes people smile.
These Easter nests are especially fun because they’re hands-on without being fussy. Kids can help shape the nests, color the coconut, and decorate with candy eggs, but they still look polished enough for a holiday spread. It’s playful baking, not precious baking, which is always my goal.
Why This Recipe Works
- Browned butter adds depth: It brings nutty flavor that balances the sweetness of marshmallows.
- Cocoa Krispies create chocolatey nests: They add color and flavor without extra cocoa or melting chocolate.
- A muffin tin shapes uniform nests: The wells do the work, so every nest looks tidy and evenly portioned.
- Colored coconut and candy eggs sell the theme: You get maximum Easter effect with minimal extra effort.
Easter Rice Krispie Treats Ingredients
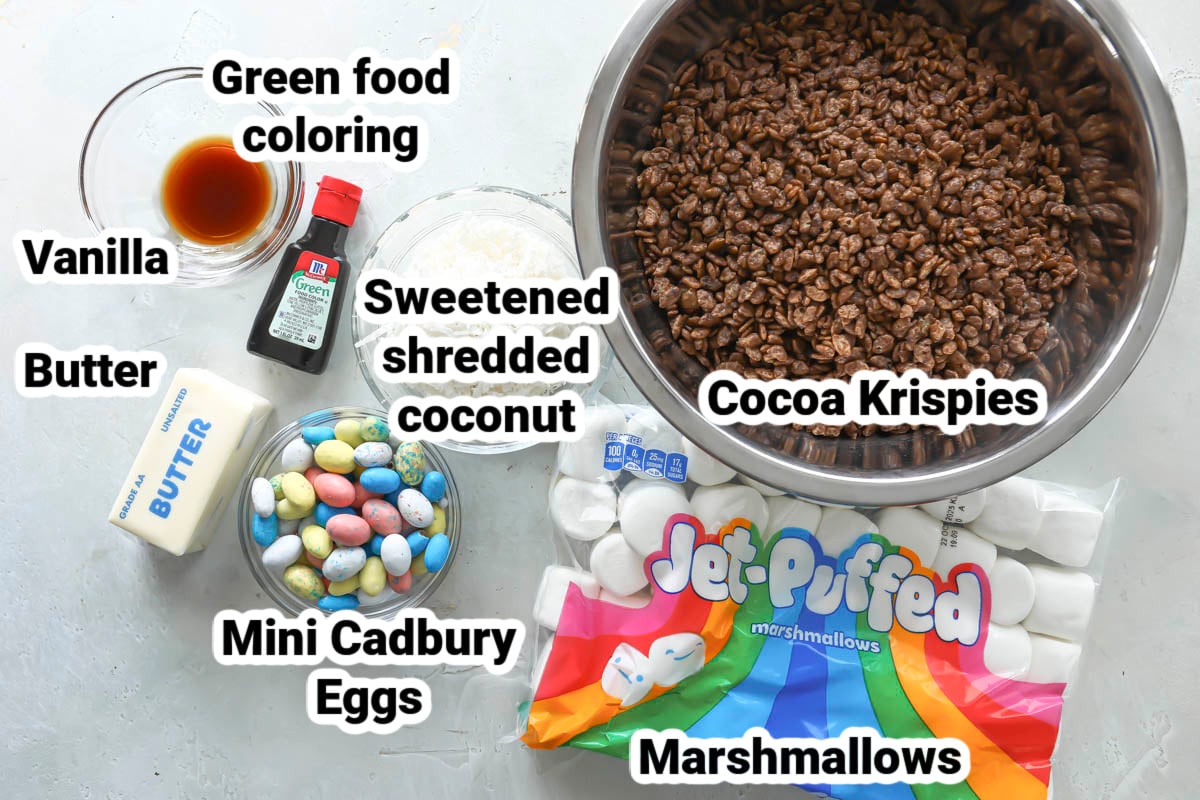
At a Glance: Here is a quick snapshot of what ingredients are in this recipe.
Please see the recipe card below for specific quantities.
- Butter: Browning the butter adds nutty flavor and balances the sweetness of the marshmallows.
- Marshmallows: Use standard large marshmallows for the smoothest melting and best texture.
- Vanilla extract: A small amount enhances the chocolate flavor and rounds out the sweetness.
- Cocoa Krispies cereal: These create the chocolate nest effect without needing cocoa powder.
- Sweetened shredded coconut: This becomes the “grass” and adds texture and visual contrast.
- Green food coloring: Gel or liquid both work. Add gradually to control the color.
- Mini Cadbury eggs or jelly beans: Either works well. Use what you like or what’s easiest to find.
How to Make Easter Rice Krispie Treats
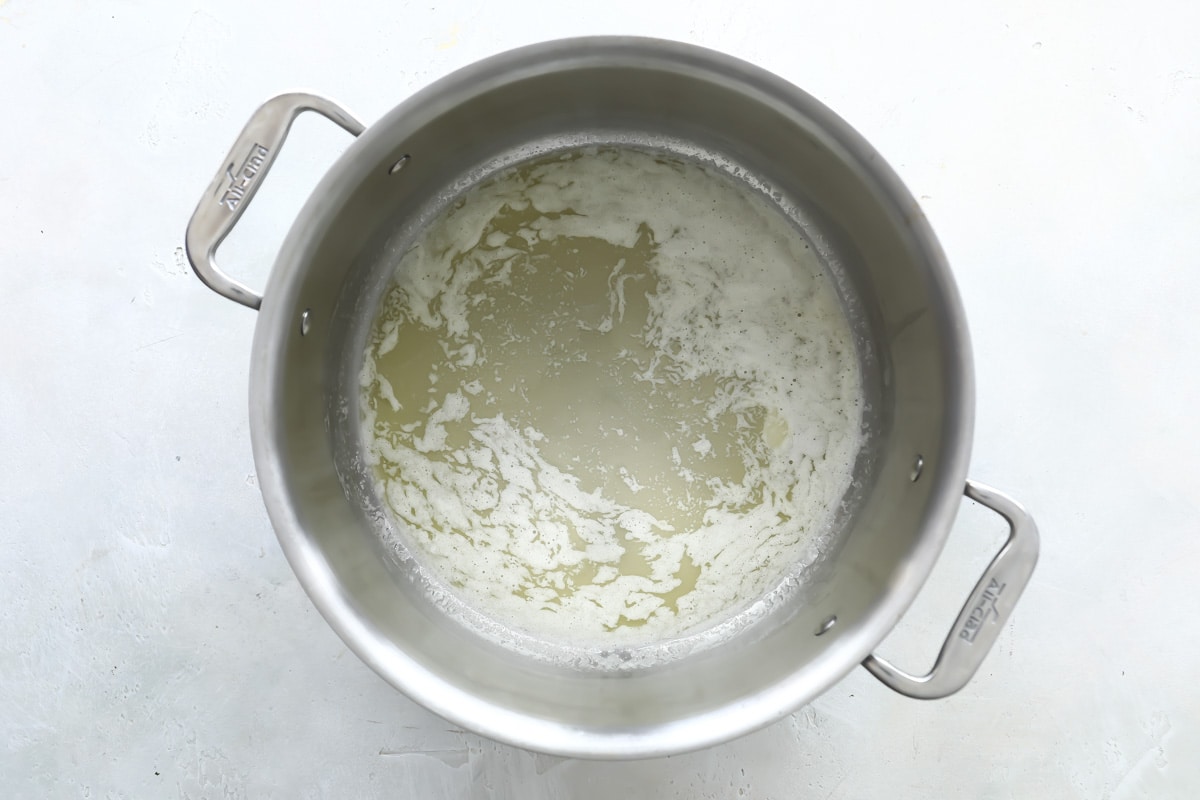
- Butter a muffin pan. In a large stockpot or Dutch oven (at least 5 quarts) over medium heat, add butter and cook until melted, about 3 minutes.
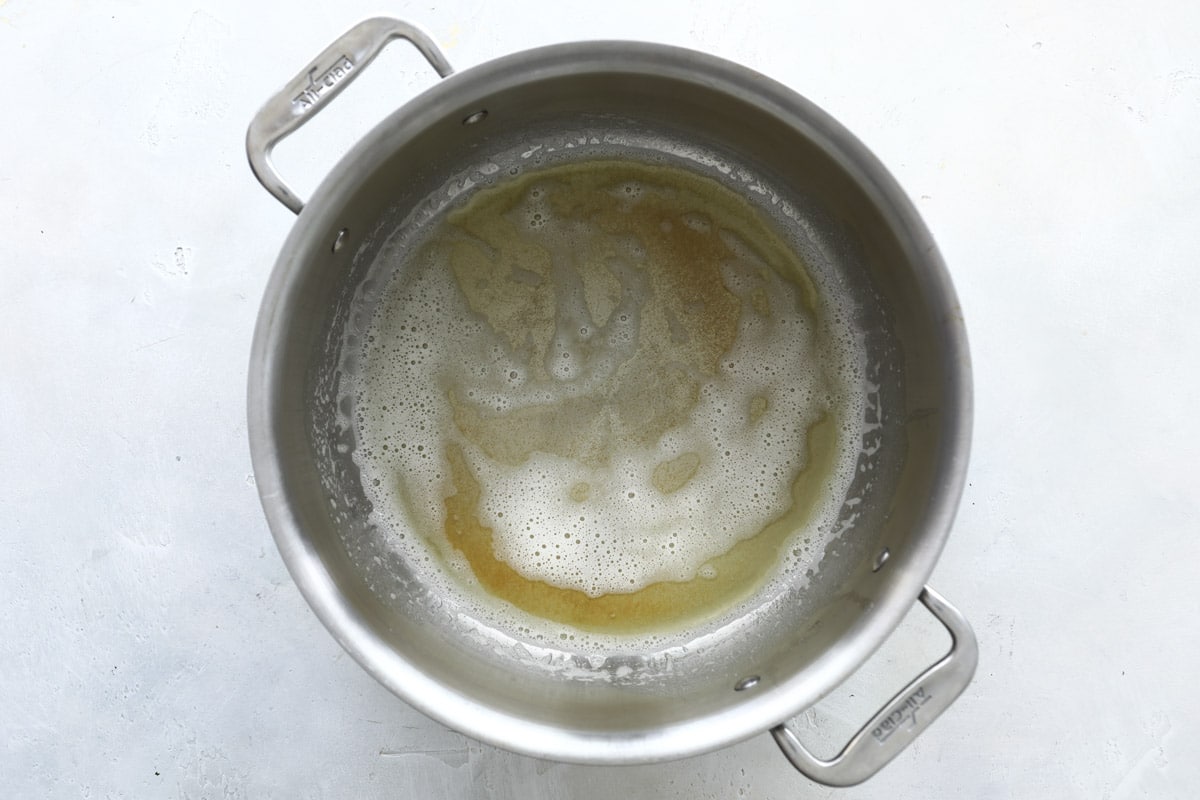
- Continue cooking butter, stirring constantly, until the milk solids turn golden and the butter darkens slightly, about 5 to 7 minutes longer. Do not walk away as you want the butter to brown, not burn and turn black.
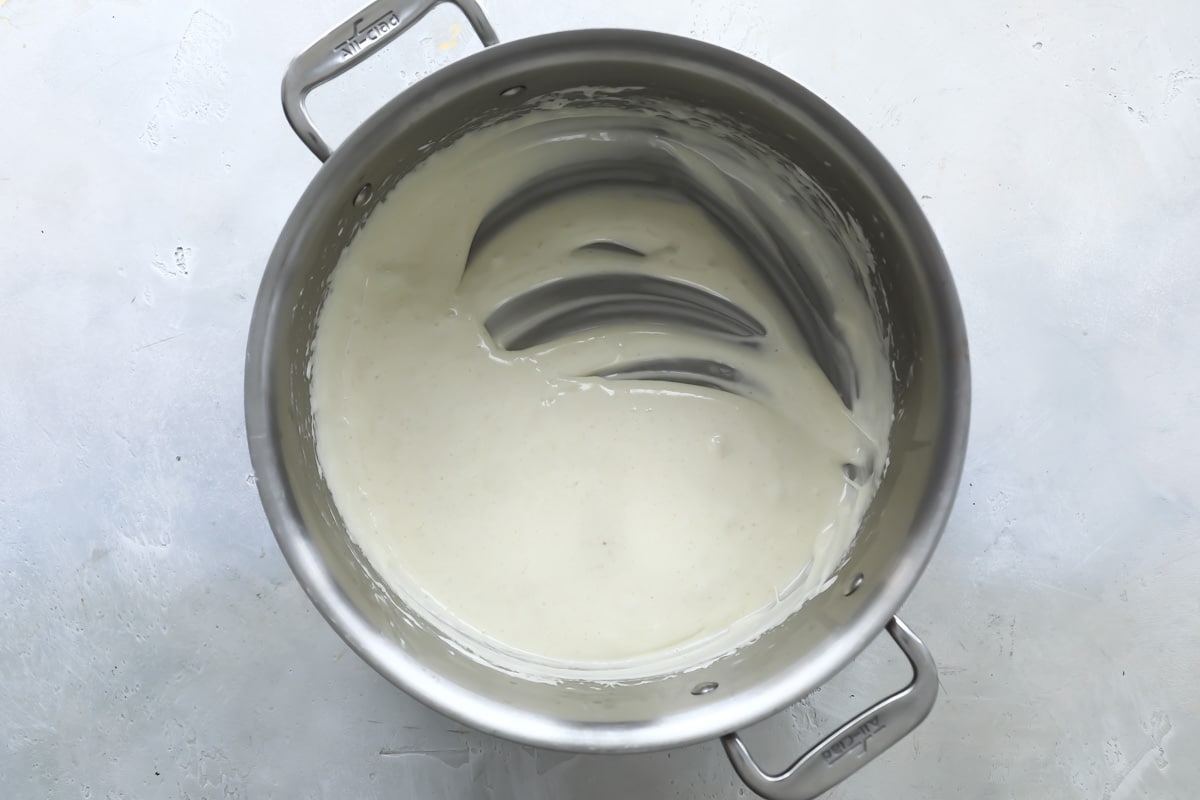
- Reduce heat to medium low and add marshmallows to the pot. Stir until the marshmallows have melted into the butter completely and the mixture is smooth, about 5 to 7 minutes (aim for a gentle melting and softening process).
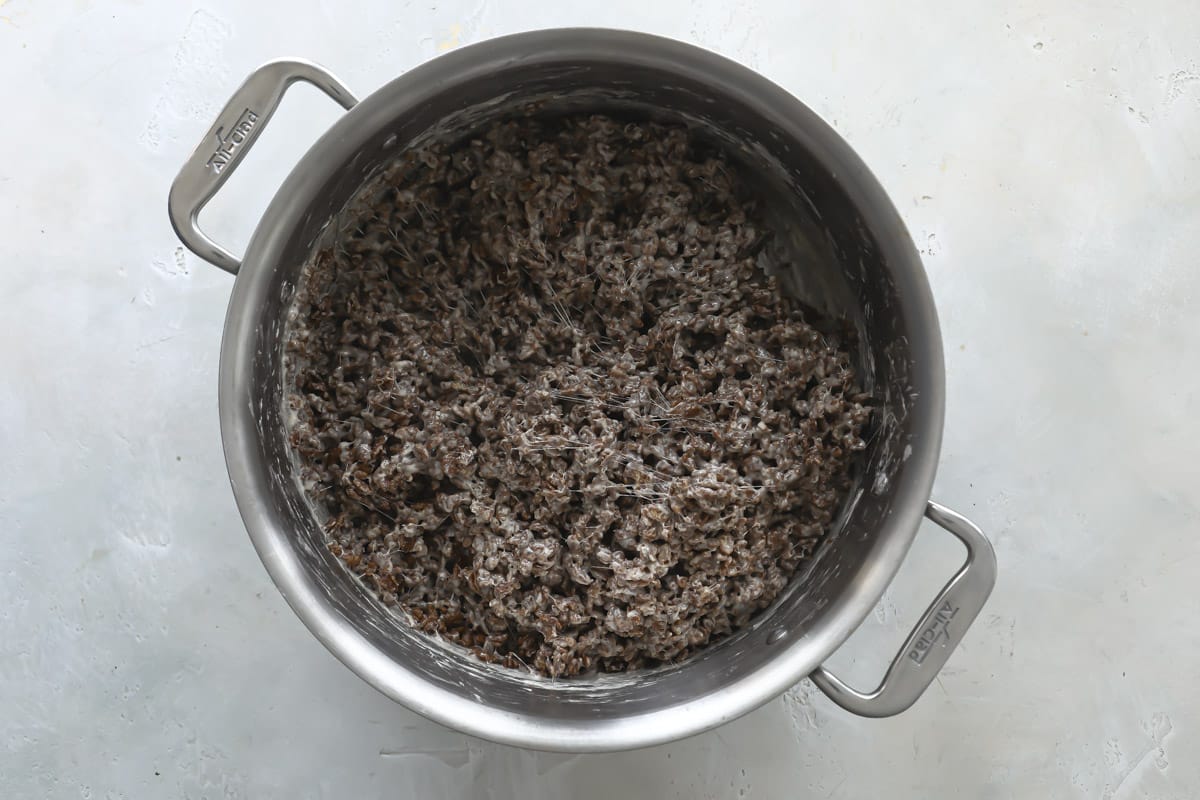
- Turn off heat and stir in vanilla. Add the cereal and use a large spatula to stir gently until the cereal is evenly coated.
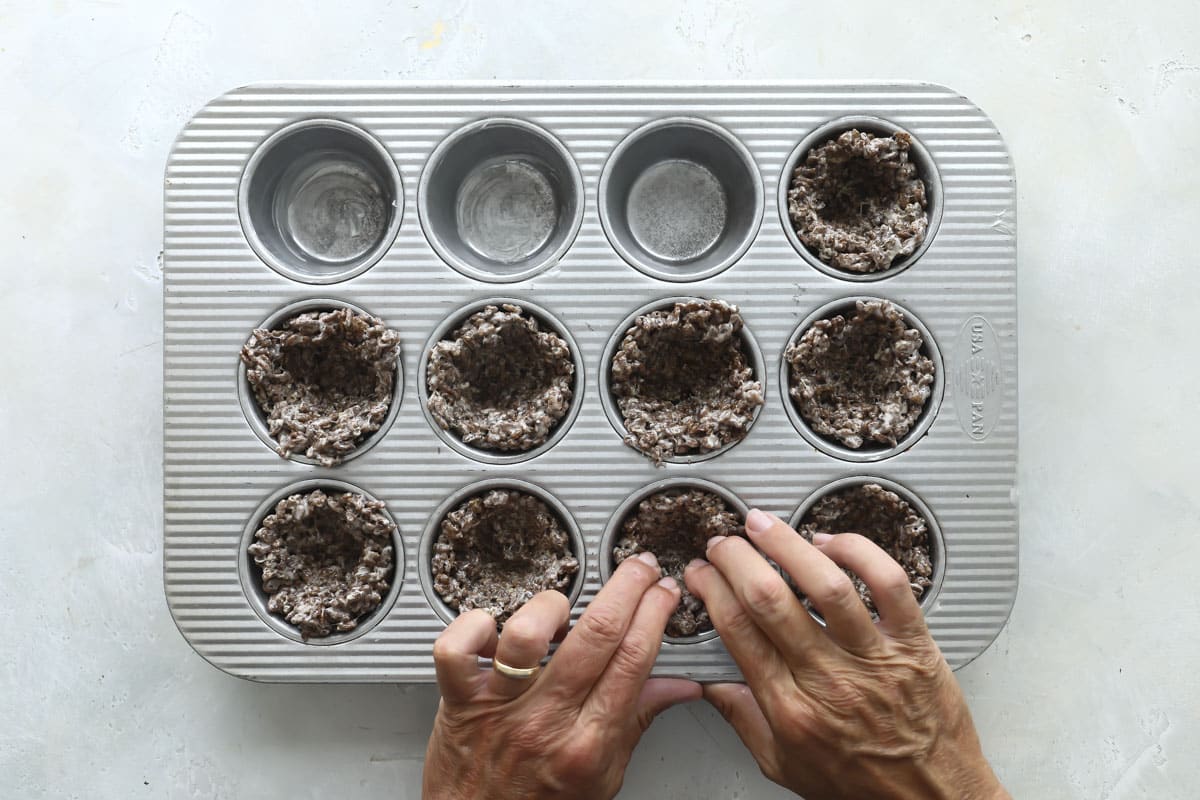
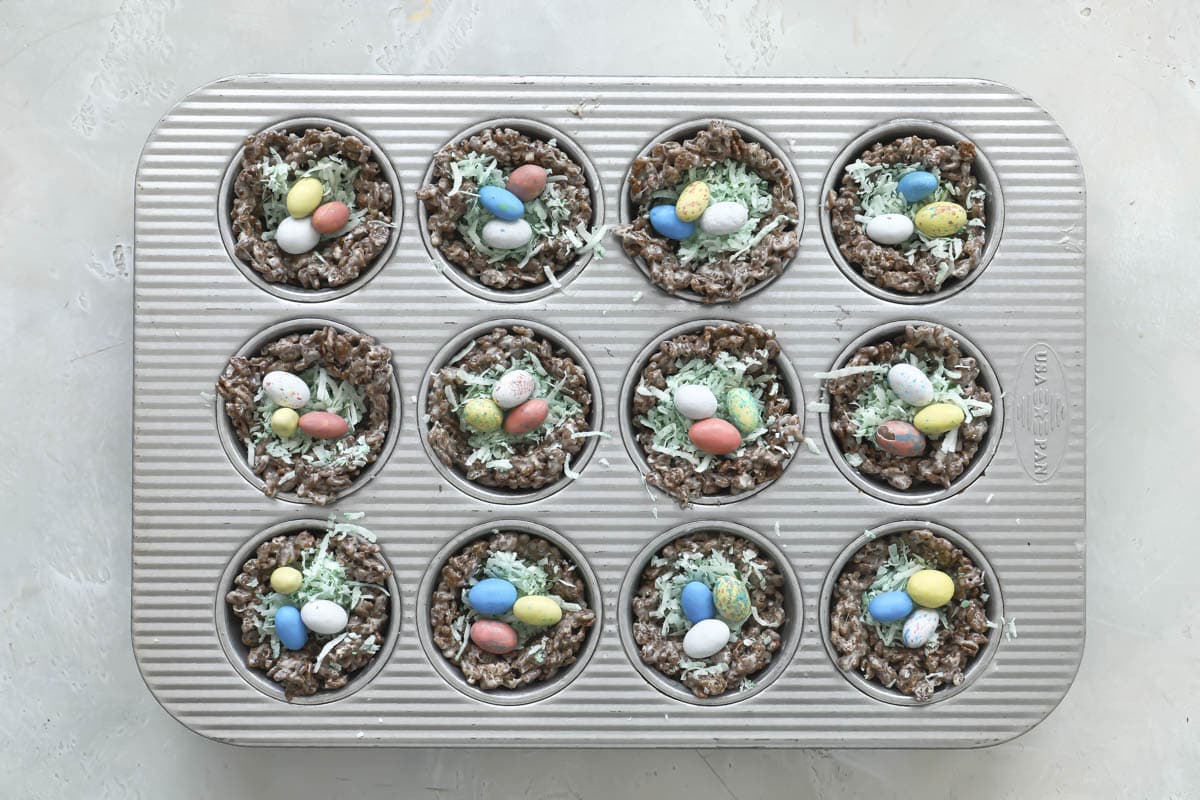
- Press about ½ cup of the cereal mixture into each tin of the prepared muffin pan. Press down gently into a nest shape (but don’t try to pack them in too tightly). Allow to sit for 20 minutes to cool and set.
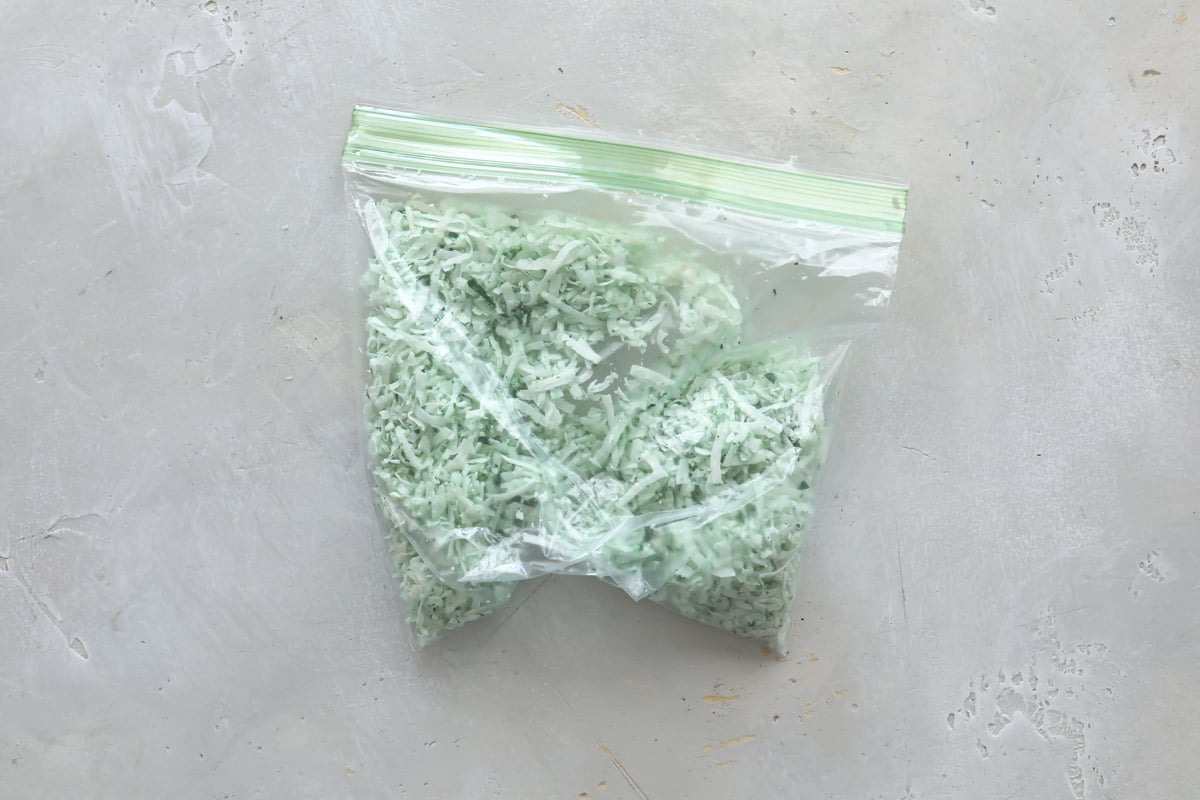
- Meanwhile, place coconut flakes in a zip-top bag and add several drops of green food coloring. Secure bag, and shake coconut and food coloring together until combined. Add additional food coloring until the desired color is achieved.
- Remove cooled nests from pan. Add about 1 tablespoon of coconut grass to each nest and top with 3 candy eggs.
Easter Rice Krispie Tips and Variations
- Yield: This recipe will make 12 nests.
- Nest shaping: Press gently into the muffin tin. Packing the cereal too tightly makes dense nests.
- Color control: Start with just a few drops of food coloring and add more as needed.
- Candy swap: Use pastel M&M’s, chocolate eggs, or seasonal jelly beans.
- No muffin tin?: Shape free-form nests on parchment paper using buttered hands.
- Extra chocolate: Drizzle melted chocolate over the nests before adding coconut grass.
How to Store Easter Rice Krispie Treats
- Room temperature: Store in an airtight container at room temperature for up to 5 days.
- Make-ahead: These can be made a day or two in advance and decorated just before serving.
Frequently Asked Questions
You can, but large marshmallows melt more smoothly and give better texture.
No, but it adds flavor. If you’re short on time, you can melt the butter and proceed.
Absolutely. Shaping nests and decorating is very kid-friendly.
Join Us
Easter Rice Krispie Treats
Ingredients
For the rice krispies:
- 1/2 cup butter (1 stick) plus more for buttering the pan
- 1 (12 ounce) bag marshmallows (see note 1)
- 1 teaspoon vanilla extract
- 6 cups Cocoa Krispies cereal
For decorating:
- 3/4 cup sweetened shredded coconut
- Green food coloring
- 36 mini Cadbury eggs or jelly beans
Instructions
- Butter a muffin pan. In a large stockpot or Dutch oven (at least 5 quarts) over medium heat, add butter and cook until melted, about 3 minutes.
- Continue cooking butter, stirring constantly, until the milk solids turn golden and the butter darkens slightly, about 5 to 7 minutes longer. Do not walk away as you want the butter to brown, not burn and turn black.
- Reduce heat to medium low and add marshmallows to the pot. Stir until the marshmallows have melted into the butter completely and the mixture is smooth, about 5 to 7 minutes (aim for a gentle melting and softening process).
- Turn off heat and stir in vanilla. Add the cereal and use a large spatula to stir gently until the cereal is evenly coated.
- Press about ½ cup of the cereal mixture into each tin of the prepared muffin pan. Press down gently into a nest shape (but don't try to pack them in too tightly). Allow to sit for 20 minutes to cool and set.
- Meanwhile, place coconut flakes in a zip-top bag and add several drops of green food coloring. Secure bag, and shake coconut and food coloring together until combined. Add additional food coloring until the desired color is achieved.
- Remove cooled nests from pan. Add about 1 tablespoon of coconut grass to each nest and top with 3 candy eggs.
Notes
- Marshmallows: For best results, use standard (large) marshmallows instead of mini marshmallows.
Nutrition
Related Recipes
Easter Recipes
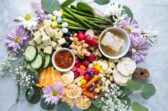
Easter Charcuterie Board

Appetizer Recipes
Deviled Eggs with Mustard

Easter Recipes
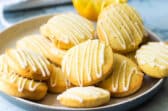
Lemon Cookie Balls
Cookie Recipes