This post contains affiliate links, which means I may earn a commission if you purchase through those links (at no extra cost to you).
Learn How to Sift Flour like a professional, even if you don’t own a handheld sifter. Sifting is the key to light-as-air cookies, lump-free cake batters, and all your best pastries. Here’s how to do it, when to do it, and why it matters.
When your favorite cake recipe calls for sifted flour, don’t leave out this crucial step. Removing flour clumps is the key to fluffy angel food cakes, the softest sponge cakes, smooth chiffon cake, and lump-free pancake batter.
Even if you don’t have a baking sifter knocking around in your cupboard somewhere, you can aerate flour like a pro in no time at all. Learn the methods with a hand sifter, a fine mesh strainer, or a whisk.
Table of Contents
Tutorial notes
- Why do it: When a modern recipe calls for sifted flour, it usually means that the recipe requires fluffier, aerated flour, or flour without any lumps. As it is packaged, shipped, and stored, unsifted flour settles in the bag. Sifting lightens it up again. It also creates space for the other components in the recipe to get in between the flour particles and do their work. Cakes become fluffier, pancakes lighter; you get the idea.
- When to do it: Should you sift flour for all recipes, even if they don’t specify? No. Commercial flour has already been sifted several times, so unless the recipe you are reading specifically requires it, you shouldn’t have to take the extra step. Always sift your dry ingredients before adding to the wet ingredients.
- Sift then measure, or measure then sift: This is important. And it’s easy to determine if you read your particular recipe carefully.
- If the recipe calls for 3 cups sifted flour, then you need to pre-sift the flour into a bowl and then measure the flour.
- If the recipe calls for 3 cups flour, sifted, then measure the flour first, and then sift it.
Step-by-step instructions
You can sift flour with a flour sifter or a fine-mesh strainer. My preference is the strainer because it’s a versatile kitchen tool that can be used for more than one task. And the flour sifter hurts my hand after a while.
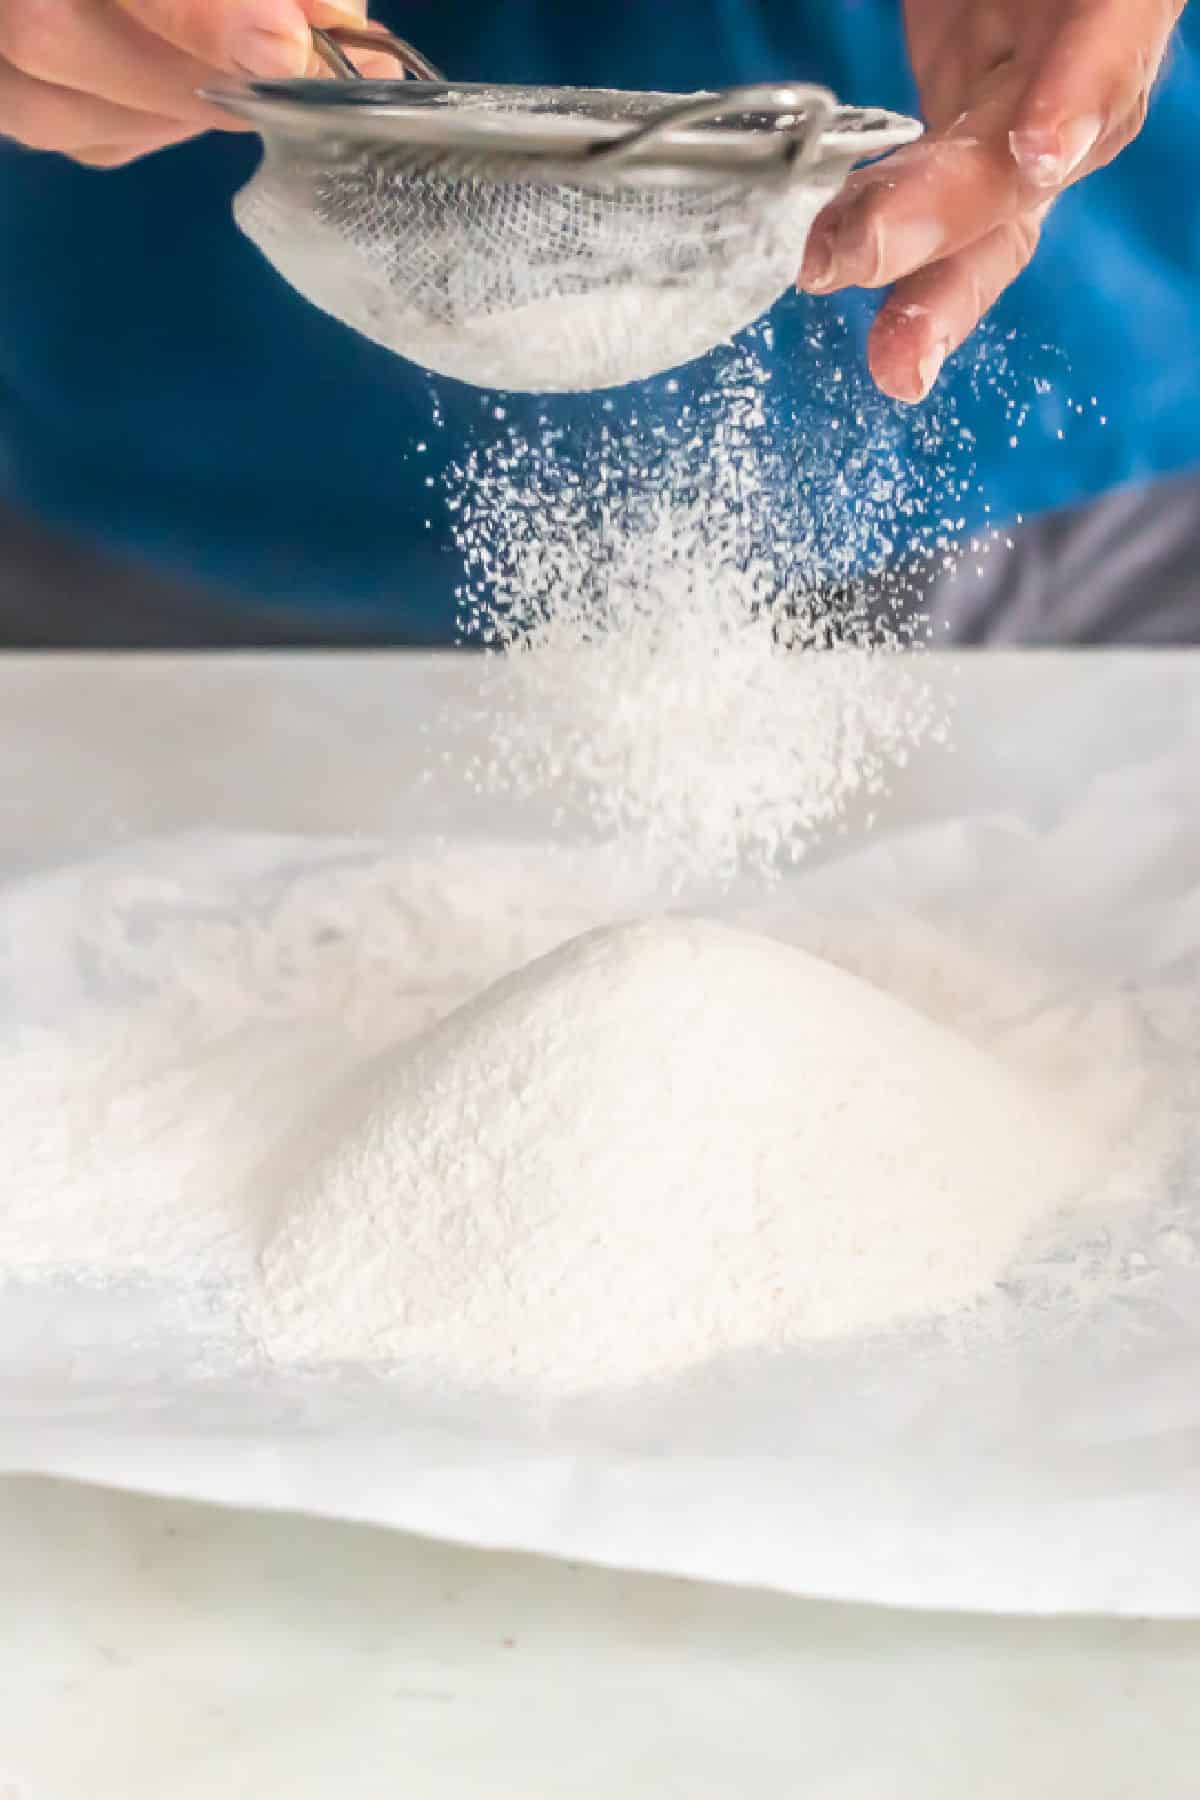
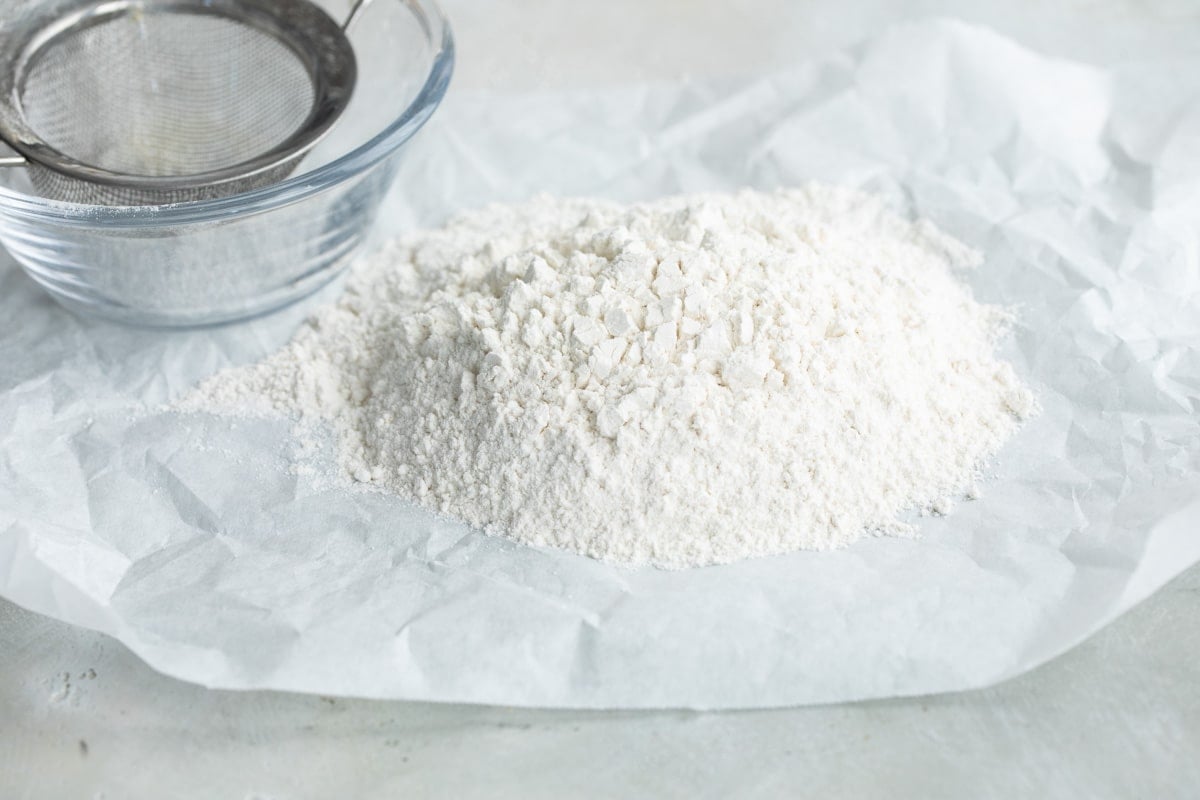
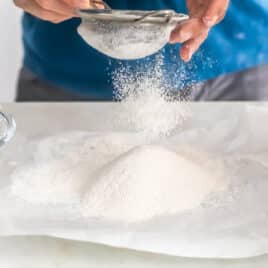
- Fine-mesh strainer: A strainer (or sieve) is a circular gadget with a finely woven mesh net used for straining liquids such as stocks or juice. It also works really well for sifting flour. Just pour your dry ingredients in it and gently tap the side with one hand. Anything left in the bottom can be pushed through with a wooden spoon. If your colander has small holes, that can work too.
- Flour sifter: A flour sifter is a kitchen device that looks like a cup with a handle and a mesh strainer on the bottom. Some sifters have mechanical blades that help push the flour through the mesh, while others don’t. As you squeeze the handle (or turn the crank) the blades are activated and sifted flour falls out the bottom of the cup.
- Whisk or fork: If you don’t have a fine-mesh sieve, just add the flour to a dry bowl and whisk it briskly with a whisk. The aeration from a quick whisking motion will break up more clumps than not whisking at all. In a pinch, use a fork.
You can sift flour into a bowl, but parchment paper (or foil) makes the best funnel. When you’re done sifting, just lift the paper and aim it at your mixing bowl. It’s much cleaner than trying to pour dry ingredients out of a large bowl into a second bowl attached to a mixer.
Tutorial tips and variations
- Storage: Store flour in an airtight storage container in a dark, cool place (such as the back of a pantry shelf). Add oxygen absorbers to the sealed container to prevent oxidation and extend the shelf life of the flour. Adding a bay leaf in the flour container will help keep bugs at bay.
- Freezer: Transfer flour to a freezer-safe container. Label, date, and freeze up to 2 years for white flour, and 1 year for whole grain flour.
- Best way to measure flour: Spoon flour out of the bag and directly into the measuring cup. Make a high mound on the top of the cup, then level off the measuring cup by pushing the excess flour off using the back of a knife.
- Wrong way to measure flour: Do not scoop or dip the cup into the flour because it packs the flour into the cup and will result in too much flour in your recipe. Also, never dip, tap, tamp, jiggle, shake, or pack flour down into the measuring cup.
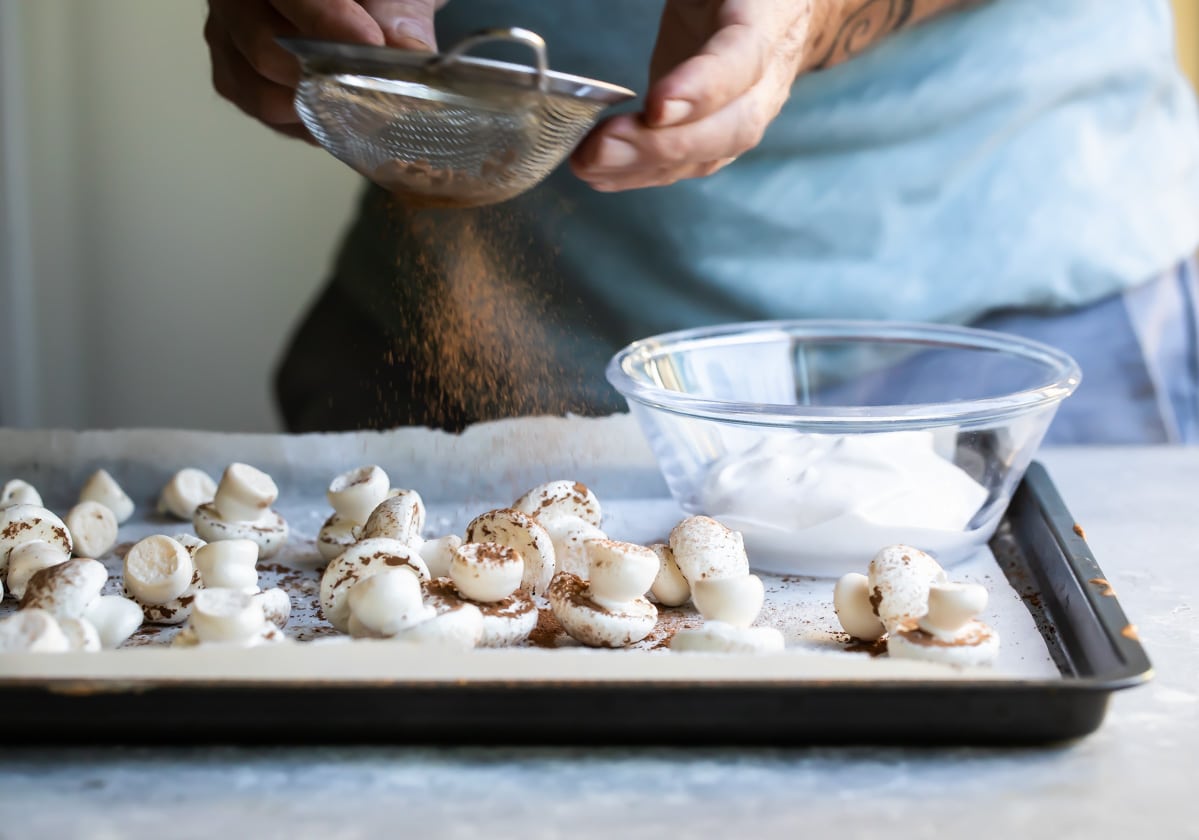
- Sifting other ingredients: Sifting is not just for flour! Dry ingredients like salt, baking soda, baking powder, brown sugar, or dry milk are sometimes sifted together, to distribute them better. Both cocoa powder and confectioners’ sugar are often sifted to remove lumps as they are dusted over finished baked goods.
Frequently Asked Questions
When a modern recipe calls for sifted flour, it usually means that the recipe requires fluffier, aerated flour, or flour without any lumps. As it is packaged, shipped, and stored, unsifted flour settles in the bag. Sifting lightens it up again. It also creates space for the other components in the recipe to get in between the flour particles and do their work. However, there is no need to sift flour for recipes that don’t request it. Commercial flour has already been sifted several times, so unless the recipe you are reading specifically requires it, you shouldn’t have to take the extra step.
If you don’t have a flour sifter, try a fine-mesh sieve (my personal preference no matter what) or even a balloon whisk or fork. The tines of the balloon whisk will break up any clumps.
If the recipe calls for 3 cups sifted flour, then you need to pre-sift the flour into a bowl and then measure the flour.
If the recipe calls for 3 cups flour, sifted, then measure the flour first, and then sift it.
Store all-purpose flour or self-rising flour at room temperature for up to 3 months (6 months in a cooler location). Or, store in the refrigerator for 1 year or in the freezer for 2 years.
My favorite gluten-free flour is King Arthur’s 1:1 GF flour blend.
There are many different varieties of flour including all-purpose flour, self-rising flour, cake flour, bread flour, pastry flour, whole wheat flour, white whole wheat flour, semolina flour, corn flour, rye flour, barley flour, coconut flour, gluten-free flour, rice flour, high-protein flour, oat flour, buckwheat flour, and 00 flour (a finely ground Italian flour perfect for pizza and pasta).
Discover recipe favorites

Cookie Recipes
Soft Baked Chocolate Chip Cookies

Breakfast Recipes
The Best Pancake Recipe from Scratch

Breakfast Recipes
Blueberry Muffins

Cake Recipes
Danish Layer Cake (Dansk Lagekage)
Join Us
How to Sift Flour
Ingredients
- 1 cup all-purpose flour or other flour or dry ingredients
Instructions
Fine-mesh strainer:
- Over a sheet of parchment paper, foil, or a bowl, add flour (or any dry ingredients) to a fine-mesh strainer and tap the side with one hand. Anything left in the bottom can be pushed through with a spoon.
Flour sifter:
- Over a sheet of parchment paper, foil, or a bowl, add flour (or any dry ingredients) to sifter cup. Squeeze handle to activate the blades repeatedly until sifted flour falls out the bottom of the cup.
Whisk or fork:
- In a dry bowl, whisk flour or other dry ingredients vigorously until aerated and no visibly clumps remain.
Notes
- Storage: Store flour in an airtight storage container in a dark, cool place (such as the back of a pantry shelf). Add oxygen absorbers to the sealed container to prevent oxidation and extend the shelf life of the flour. Adding a bay leaf in the flour container will help keep bugs at bay.
- Freezer: Transfer flour to a freezer-safe container. Label, date, and freeze up to 2 years for white flour, 1 year for whole grain flour.
I always needed to know this and now I do, thank you.
You’re welcome, Bruce! Happy to help! – Meggan
What is the purpose on sifting dry ingredients using parchment paper?
Hi Gemlyn, it helps add air and lighten the flour, remove lumps, and if combining flour with leavening ingredients (like baking powder, baking soda, or salt), it helps make sure they are incorporated well. The parchment paper acts as a funnel for easy cleanup. I hope this helps! – Meggan
Thank you! I’m new to baking and your clear descriptions were incredibly helpful! 🙂
Thank you Jennifer! Glad it worked well for you! -Meggan
Thanks! Novice with a bread machine. Getting inconsistent results with white bread recipe I have been using. Read a different recipe that explained the need to sift to get accurate flour measurements, and less dense bread. So I found this. Have whisks and fine strainer already, so now I’m ready to go.
Hi Ron! I’m so glad I could help! Happy bread-making! – Meggan