This post contains affiliate links, which means I may earn a commission if you purchase through those links (at no extra cost to you).
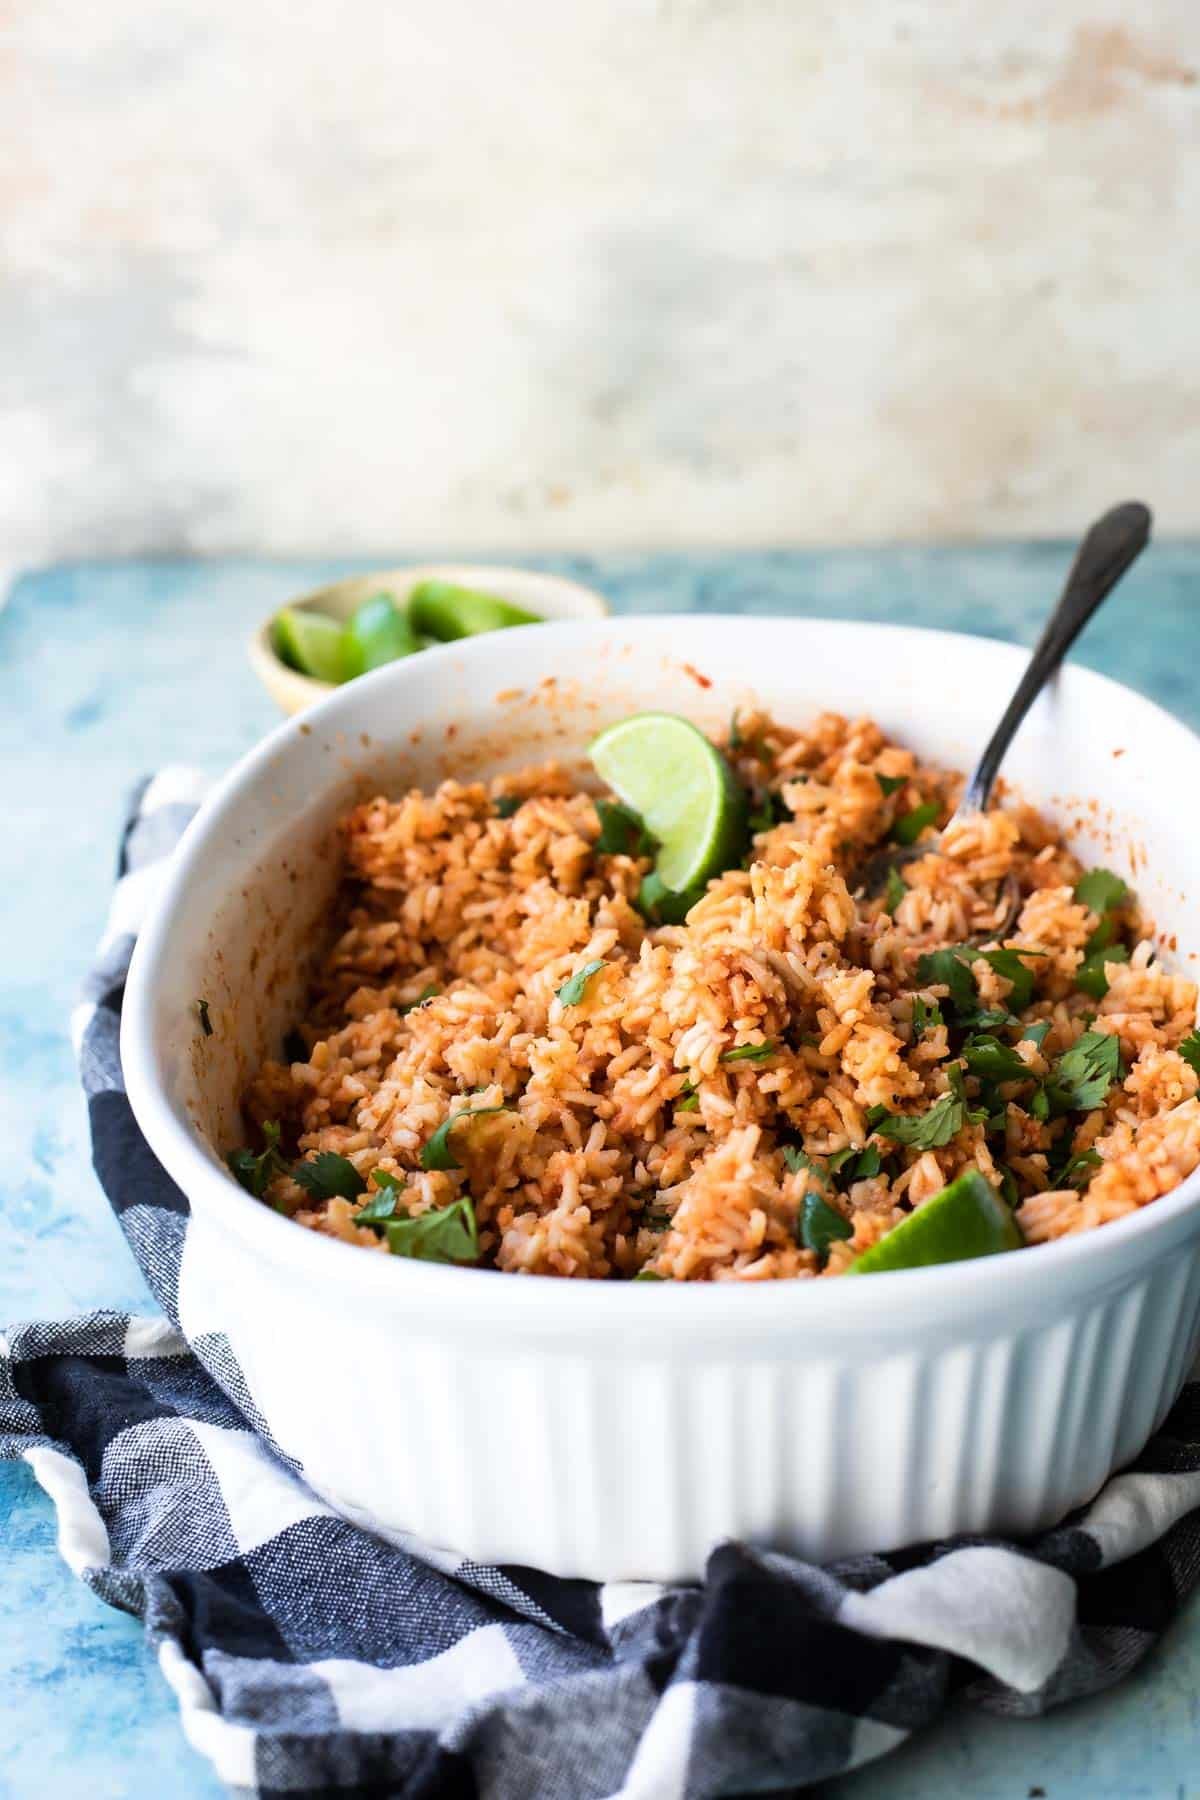
Learn the secret to making restaurant-style Mexican Rice at home. It’s always perfect: tender, delicious, never sticky. Whether you are making dinner for the family or feeding 100, this recipe works every time and it tastes exactly the way you want it to!
Meggan’s notes
If you’re craving restaurant-style Mexican Rice at home, this is the perfect tutorial for you. As a classically-trained chef (and the wife of a life-long line cook who was born and raised in Mexico), I’ve made Mexican rice all the possible ways it can be made. I’ve settled on this method for perfect Mexican rice that is easy to make and easy to freeze.
The secret to perfect Mexican rice is to puree fresh tomatoes and onions. Then, follow a standard pilaf-style method where you toast dry rice in oil (this is exactly how they make it in Mexico). Finally, my personal secret is to bake the rice in the oven. You can make it on the stove, too, but I love how easy it is to pop a huge casserole dish full of rice in the oven until it’s fluffy, tender, and oh-so flavorful.
Make a large batch so you have plenty to freeze for future meals. Be sure to cool the rice quickly (I like to spread it out on a rimmed baking sheet), then pack into freeze-safe bags and freeze for a few months. Thaw overnight in the refrigerator or defrost in your microwave. I follow this routine religiously so I can easily pull out a tasty, flavorful side dish any night of the week.
Table of Contents
Mexican Rice Recipe Ingredients
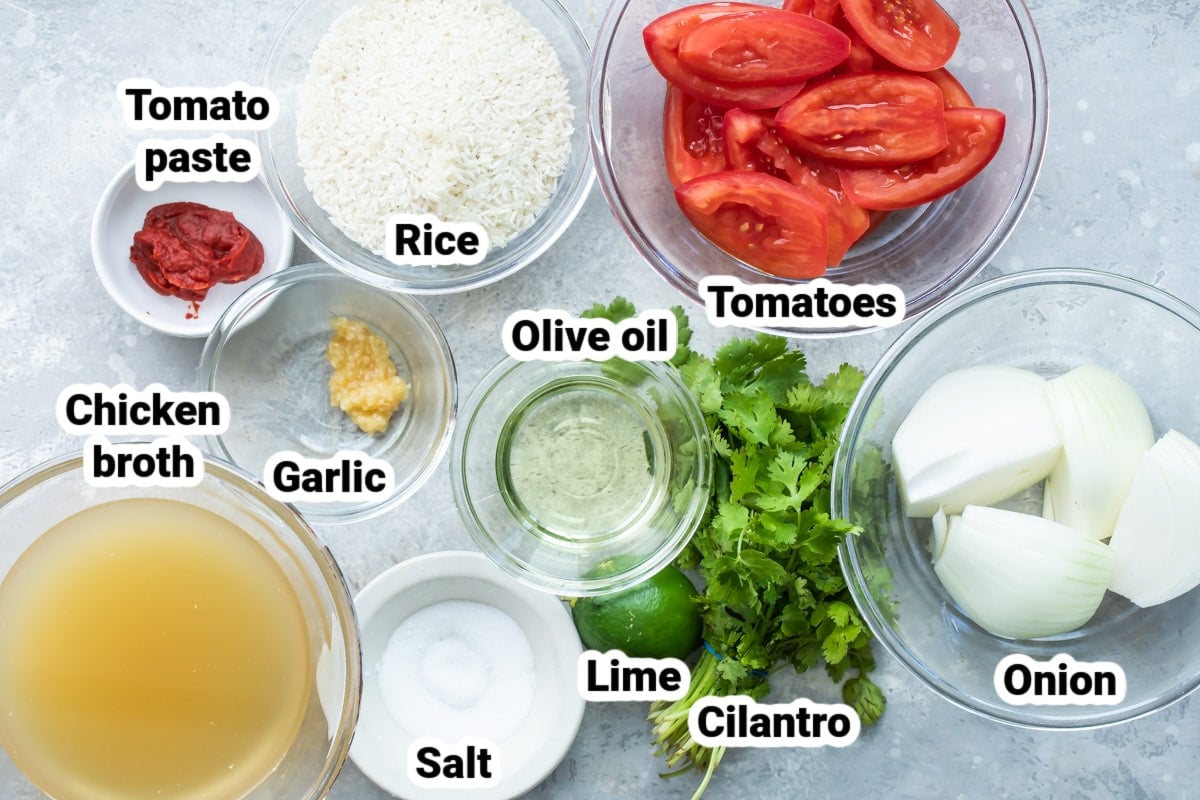
At a Glance: Here is a quick snapshot of what ingredients are in this recipe.
Please see the recipe card below for specific quantities.
- Tomatoes and onions: So many readers love using their favorite salsa instead of the tomato/onion mixture. You can even use canned tomatoes, Rotel, or a couple cans of El Pato tomato sauce, a zesty tomato and chili purée found at Mexican grocery stores. As long as you have two cups of liquid, you’re good to go.
- Rice: Any long-grain white rice (including Basmati and Jasmine) work well here. To substitute brown rice, add 10 minutes to the baking time.
- Tomato paste: If you don’t want to open a small can of tomato paste, look for a tube at the grocery store. In Mexico cooks use one cube of Consomate brand tomato bouillon instead of tomato paste.
- Cilantro: Or substitute parsley. In truth, no one in Mexico ever does this (but let’s be honest: they would never make rice in the oven, either).
How to Make Easy Mexican Rice
This method starts the rice on the stove, but finishes it off in the oven. You need a heavy Dutch oven or stock pot with a lid that’s oven safe.
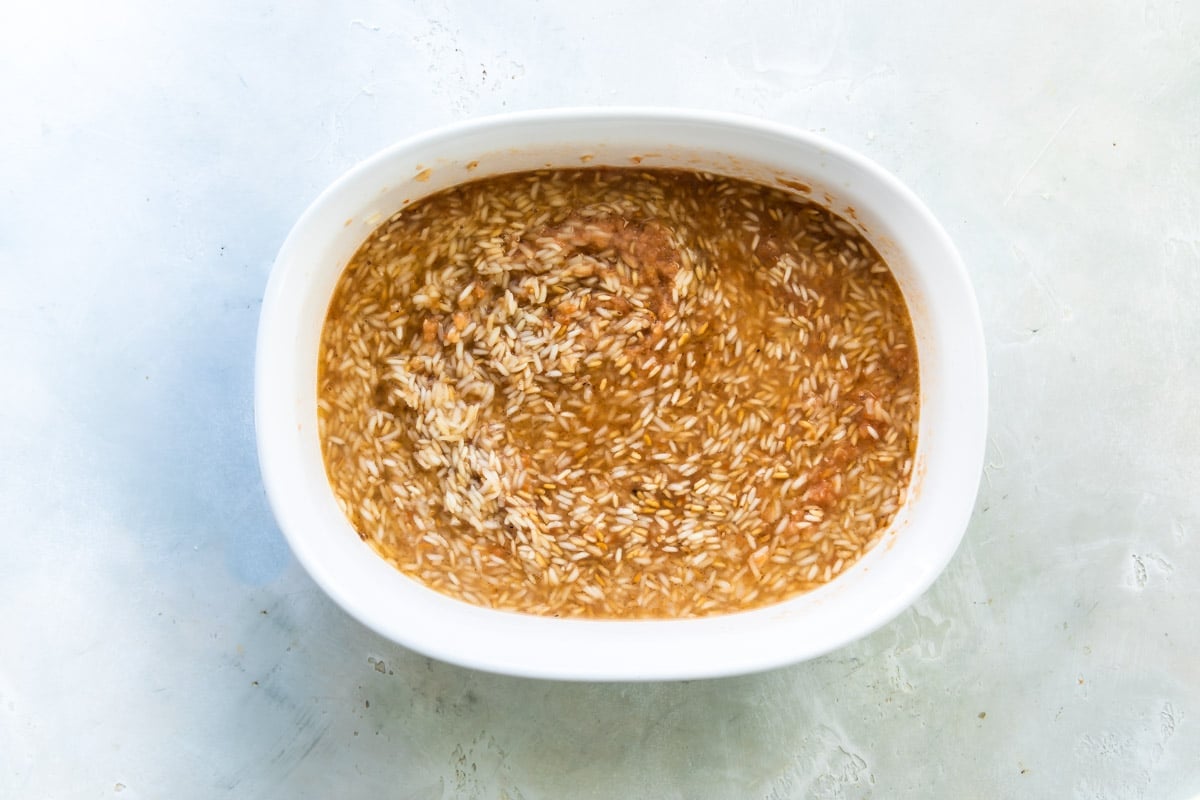
- Adjust an oven rack to the middle position and preheat oven to 350 degrees. In a food processor or blender, puree the tomatoes and onions until smooth. Measure 2 cups of puree, pouring off and discarding any excess.

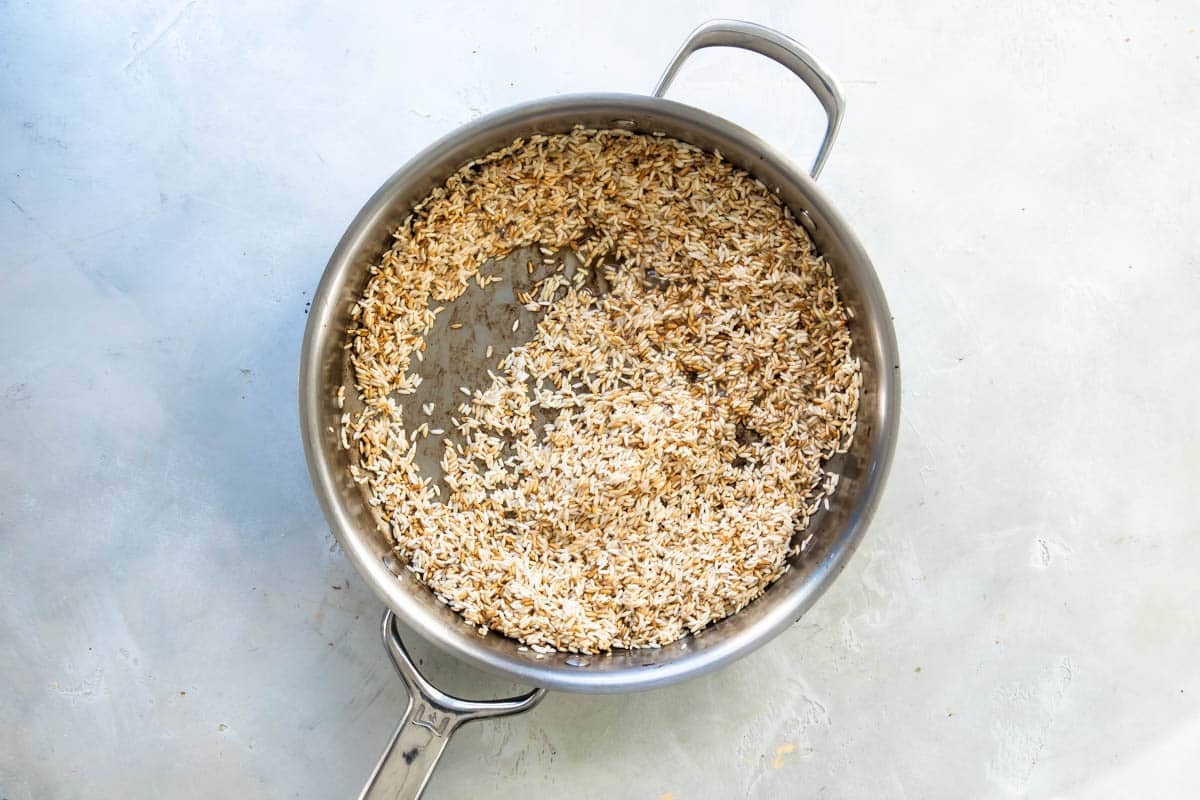
- In a large Dutch oven or a 3-quart saucepan, heat oil until shimmering. Add the long-grain rice and sauté, stirring frequently, until light golden in color, about 10 to 15 minutes.
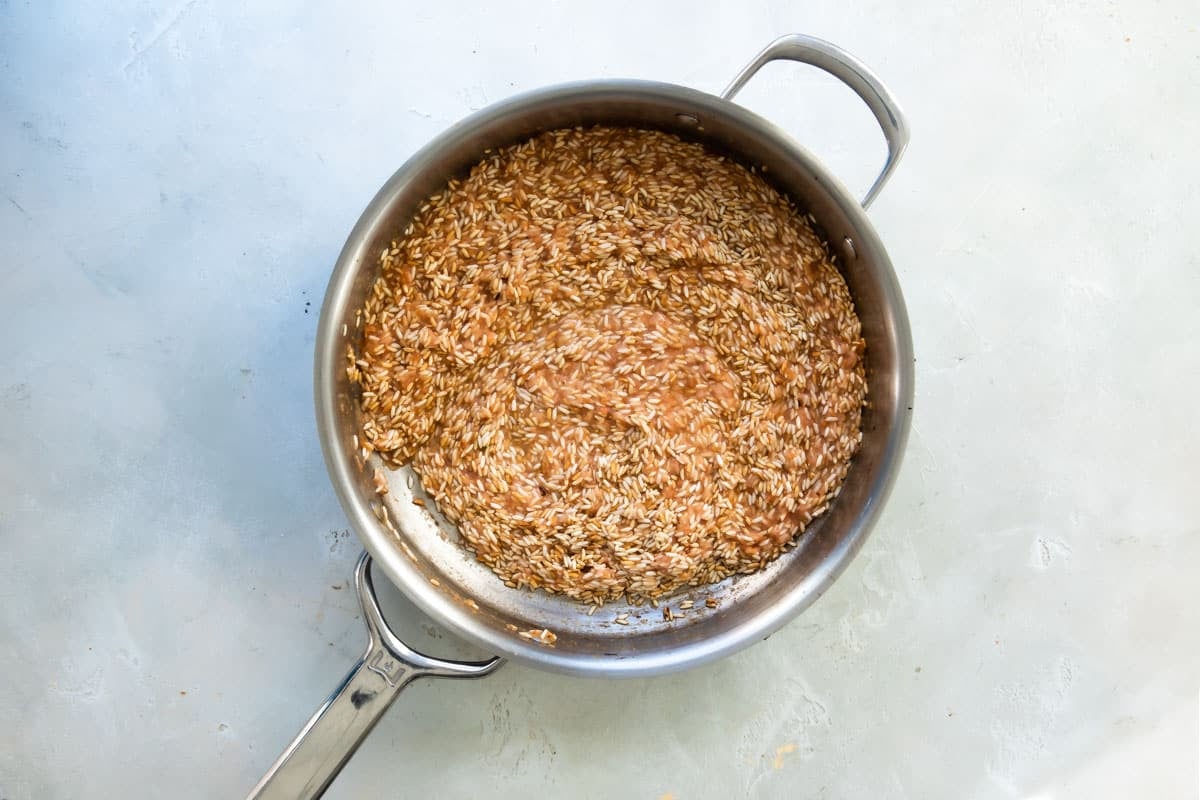
- Stir in garlic until fragrant, about 30 seconds. Stir in tomato mixture, broth or water, tomato paste, and salt to taste (I like 1 ½ teaspoons). Simmer and bring to a boil.
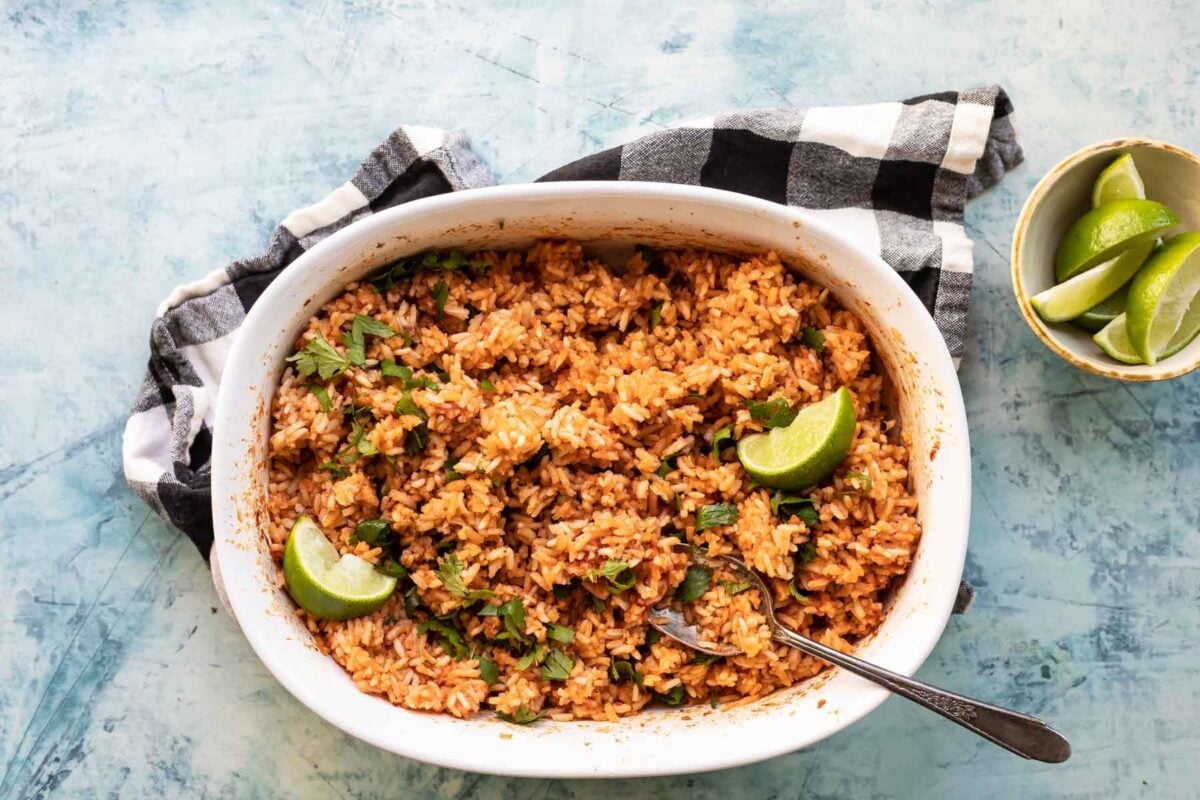
- Cover (or transfer to a baking dish and cover) and bake until the rice is tender and the liquid is absorbed, about 30 minutes. Stir halfway through baking time.
- Fluff rice with a fork. Fold in cilantro or parsley (if using) and season to taste with salt. Serve with lime wedges.
Mexican Rice Recipe Variations
- Yield: This Mexican Rice recipe makes about 6 cups rice, enough for 12 (1/2-cup) servings.
- Jalapeños: If you want, stir in 1-2 minced jalapeños peppers with the fresh garlic. They don’t do this in Mexico, but it adds a great flavor.
- Peas and carrots: Sometimes in Mexico, they add ¼ cup frozen peas and carrots midway through cooking. You can use storebought veggies or homemade peas and carrots.
- Stove-top: You can also make Mexican rice on the stove (that’s what they do in Mexico). After the rice comes to a boil, reduce the heat to the lowest possible temperature on your stove, cover, and cook for another 15 minutes.
- Rice cooker: Follow the steps in the recipe below exactly as written through Step 4. Once you bring the rice to a boil, transfer it to your rice cooker (coated with nonstick spray). Close and seal the rice cooker and cook according to the manufacturer’s instructions. For white rice, it took 33 minutes in mine (nearly the same as the oven) and there was no stirring needed. For brown rice, it takes about 50 to 55 minutes. Find my best Rice Cooker picks here.
- Big batch rice: For enough Mexican Rice to feed 25 people, use an 8-quart stock pot, triple the ingredients, and add 10 minutes to the baking time (40 minutes total).
- Baked white rice: If you love cooking rice in the oven as much as I do, check out my Baked Rice recipe which is even easier than this one. I make batches just to keep in the freezer. It’s great for quick fried rice or side dishes any night of the week.
- Cinco de Mayo: Planning your own Fiesta? Add this to another Mexican Dish! Discover my full menu of Cinco de Mayo recipes including Chicken Fajitas, Carne Asada, Birria, Tacos al Pastor, Chicken Tinga, Strawberry Margaritas, or Copycat Chipotle Burrito Bowls.

How to Store Homemade Mexican Rice
Store leftovers in an airtight container in the refrigerator for up to 4 days.
Can you freeze Mexican Rice?
Spread the cooked rice out on a rimmed baking sheet to have the rice cool it quickly. Then, scoop it into a freezer bag. Then, when you need a quick side dish, just pull a bag of rice out of the freezer, defrost, and reheat. It works like a dream!
How to Serve Mexican Rice
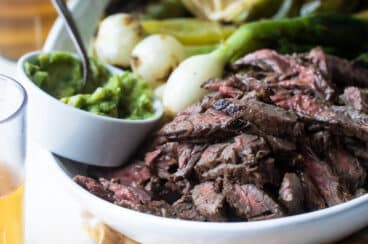
Serve Mexican rice on the side of all of your favorite Mexican foods like Carne Asada, Tacos al Pastor, Shrimp Fajitas, and Chicken Tinga. Or, pack it into soft flour tortillas with scrambled eggs, cheese, and hot sauce for an epic breakfast burrito. I also love to eat it by the bowl topped with sour cream. It’s also delicious in your next burrito bowl.
Frequently Asked Questions
To omit the oil completely, follow the recipe as written, making this change for Step 3: Instead of heating oil in a pot, toast the dry rice (un-rinsed) on high, stirring CONSTANTLY, until about half the rice is lightly browned. Keep your eye on it; you need to keep it moving so it doesn’t scorch. Continue the recipe as written, stirring in the garlic. The rice will bake up perfectly, separated and fluffy, as if you had used oil.
Follow the recipe as directed, swapping the chicken broth for water or vegetable broth.
I find that rice cookers help make the fluffiest rice and when we rounded up the best rice cookers, our top pick was my personal favorite: The Aroma Housewares Rice Cooker. It’s compact, super simple, and does exactly what it’s supposed to do without fail. My sisters, Erin and Meredith, each have the same one, and we all love it. Not to mention, it has over 58,000 reviews. That’s a whole lot of rice!
You can check out the rice cooker variation for Mexican Rice below. Also, Rice cookers can cook polenta beautifully without stirring it for a million hours. It’s not just a one-job appliance, so I hope you find many uses for one of my favorite cooking gadgets.
More authentic Mexican recipes

Mexican Recipes
Chicken Tinga
Mexican Recipes
Carne Asada

Soups and Stews
How to Make Pozole Rojo Soup

Mexican Recipes
Chicken Tortilla Soup
Join Us
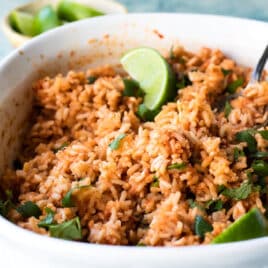
Easy Mexican Rice
Ingredients
- 4 Roma tomatoes cored and quartered (see note 1)
- 1 onion peeled and quartered
- 1/3 cup olive oil or vegetable oil
- 2 cups long-grain white rice (see note 2)
- 4 cloves garlic minced
- 2 cups chicken broth or water
- 1 tablespoon tomato paste or one cube Consomate tomato bouillon (see note 3)
- Salt
- minced fresh cilantro or parsley, for garnish (see note 4)
- Lime wedges for serving
Instructions
- Adjust an oven rack to the middle position and preheat oven to 350 degrees.
- In a food processor or blender, puree the tomatoes and onions until smooth. Measure 2 cups of puree, pouring off and discarding any excess.
- In a large Dutch oven or a 3-quart saucepan, heat oil until shimmering. Add the rice and sauté, stirring frequently, until light golden in color, about 10 to 15 minutes.
- Stir in garlic until fragrant, about 30 seconds. Stir in tomato mixture, broth or water, tomato paste, and salt to taste (I like 1 ½ teaspoons). Bring to a boil.
- Cover (or transfer to a baking dish and cover) and bake until the rice is tender and the liquid is absorbed, about 30 minutes. Stir halfway through baking time.
- Fluff rice with a fork. Fold in cilantro or parsley (if using) and season to taste with salt. Serve with lime wedges.
Recipe Video
Notes
- Tomatoes and onions: So many readers love using their favorite salsa instead of the tomato/onion mixture. You can even use canned tomatoes, Rotel, or a couple cans of El Pato tomato sauce, a zesty tomato and chili purée found at Mexican grocery stores. As long as you have two cups of liquid, you’re good to go.
- Rice: Any long-grain white rice (including Basmati and Jasmine) work well here. To substitute brown rice, add 10 minutes to the baking time.
- Tomato paste: If you don’t want to open a small can of tomato paste, look for a tube at the grocery store. In Mexico cooks use one cube of Consomate brand tomato bouillon instead of tomato paste.
- Cilantro: Or substitute parsley. In truth, no one in Mexico ever does this (but let’s be honest: they would never make rice in the oven, either).
- Yield: This Mexican Rice recipe makes about 6 c. rice, enough for 12 (1/2-c.) servings.
- Storage: Store leftovers covered in the refrigerator for up to 4 days.
Hi im really excited to try this recipe it looks great! So by rinsing the rice you mentioned its getting rid of the vitamins, is it absolutely necessary to rinse it first? I guess there are lots of veggies for added vitamins-just wondering, thanks so much!
Hey there London! The reason for rinsing the rice is to remove the starch so the rice is not sticky at all in the final dish. You would not have to rinse the rice and the recipe would still work, but it might just be slightly stickier than if you rinsed it. I will put it on my list to test it without rinsing the rice so I can add notes to the recipe about that. But, it should taste just fine. Thanks!
Hi again! Another reader just commented that she forgot to rinse her rice for this recipe but the rice was still light and fluffy. 🙂 So you should be just fine! I’ll still plan to re-test though. 🙂 Take care!
Made this tonight and it was delicious! I will never buy boxed Spanish rice again ! I forgot to rinse my rice and it was still light and fluffy. Thank you for this recipe!
Thank you so much, Angie! I appreciate the kind words. And, I especially appreciate the note on the non-rinsing you did. Other people have asked about that (due to the loss of nutrients if you rinse rice) and I’m planning to make it myself that way. But in the meantime, I have replied to another reader with your comment. I’m so glad it worked! If I could eliminate the rinsing step, that would be awesome. It’s my goal now. 🙂 Thanks so much and take care!
Just made this for dinner and I have a couple questions. I’m somewhat of a cooking novice so please bear with me.
What temperature should the stove be for sautéing the rice? I burned the first batch of rice and the second batch was a little over-cooked as well.
How much pepper should I add and when should I add it? I ended up adding a couple twists from the grinder before I brought everything to a boil.
When all the ingredients are added and brought to a boil, how long should I let it boil for?
Overall it turned out alright but some clarification would be greatly appreciated!
Hi Kaitlin, I’m so sorry about the burnt rice! I usually cook it over medium heat, bearing in mind that I use a gas stove. You just need to stir it frequently and only saute it until it’s lightly golden in color. It is definitely not something I would leave unattended, so I apologize for not making the instructions more clear. I’ll fix that.
As for the pepper, that’s really a personal preference. I don’t add it until the *very* end, when I’m folding in the cilantro, and then I add whatever tastes good. A few grinds probably? 1/8 teaspoon to a 1/4 teaspoon, I’d say. Before bringing the rice to a boil, I’m only adding salt.
As for your last question, you don’t need to let it boil for any certain about of time. You literally just bring it to a boil and then stick it in the oven. It’s just a more efficient way to heat up all the liquid (rather than waiting for that to happen in the oven). Does that make sense? Once it starts to boil, you’re good to go.
I will fix the instructions so all these points are clear! It’s awesome that you are taking on a recipe like this which is more than entry-level dump & pour stuff. 🙂 I really believe practice makes perfect in the kitchen! Please let me know if you have any other questions, and thank you so much for helping me fix this recipe so it makes more sense! Take care.
Thanks for the quick reply! I would probably cover it with aluminum foil. I’ve done baked brown rice that way in a smaller pan and the foil seemed to work just fine. As far as timing, I will be making it tomorrow night, so probably not enough time to test, but I appreciate the offer! I will let you know how it goes!
Oh, foil! Of course. I mean, I didn’t know if that would work. But now that you say that, I’ve seen that done A MILLION TIMES on Diners, Drive-ins, and Dives. Sometimes I think they even put plastic wrap under the foil which would make a tighter seal (which is what I was worried about). But, I see no reason why it wouldn’t work. I hope you love it, I look forward to hearing your feedback (positive or otherwise!). Have a great weekend!
Do you think it would work to double the recipe and bake in a 9×13 to feed a larger group of people? I’m terrible with doubling recipes, so if you have any recommendations on adjusting time, I’d appreciate it!
Hi Jessica, my first question is, how would you cover it in the oven? My 9×13 pans have covers but none of them are oven-safe. So, that would be my first concern. My second question is, how soon do you want to serve this? I would be happy to test the recipe over the weekend (doubled, obviously), and report back my findings. I’d probably try it in my Dutch oven. And when I think about it, I don’t think the cooking time would increase by very much. It might even be the same. When I cook rice on the stove, the cook time is basically 15 minutes no matter what quantity. I don’t know for sure, but I would start at one hour and go from there. Maybe an extra 15 minutes would all that would be needed if even that. If you have some time and I can test it for you, please just let me know!
If I try this with brown rice, how long do you think I should cook?
Hi Kari, I’m not exactly sure because I haven’t made the recipe with brown rice. But, I think it would be at least an hour. I’d stir it after a half hour, see how it looks, leave it in another 30 minutes, and go from there.
Hi,
This looks delicious, but I’m wondering if you ever ended up trying/succeeding at making it in a rice cooker or pressure cooker?
Thanks!
Hi Landon! I don’t have a pressure cooker so I’m not sure about that, but I don’t see any reason why it wouldn’t work (I just can’t tell you any specifics about the cook time). However, after seeing your comment this morning, I had everything on hand and went ahead and tried it in a rice cooker. It works perfectly! I have a 4-cup rice cooker so I ended up making just a half-batch to be safe, but I see no reason why the full recipe wouldn’t work in a 4-cup (or bigger) rice cooker. I did everything the same as the recipe and it took 33 minutes in the rice cooker. I’m not going to lie, this is really exciting and I might make it this way from now on! Thank you so much for your question. Have a great weekend. 🙂
I made this in my Instant Pot yesterday and it was perfect. I subbed one can of diced tomatoes with lime and cilantro for the fresh tomatoes. After sauteing the rice I put in the rest of the ingredients (minus cilantro) and pushed the rice button. It cooked for 12 min. (and NPR for 8 minutes because I forgot about it). Opened the lid, stirred in the fresh cilantro, and delicious!
Hi,
So my understanding is that you roast the rice before actually cooking it? (if that makes sense).
Never cooked rice like this before so it seems a bit odd to me 🙂
Hi Celine! Yes. Well, I’d pick the word “toast” rather than “roast,” but yes. That’s how they make pilafs typically, toasting the grains first. I think you’ll love it! Yes, it’s totally weird if you’ve never done it before. 🙂
Hello,
Can this be finished off on the stove instead of the oven?
Hi Bean, probably. Or I should say, yes definitely. But I haven’t done that so I can’t tell you exactly how long it would take or what temperature. If I were going to try, though, I would reduce the heat the lowest possible temperature, cover, and cook for 15 minutes (maybe checking at 10 or 12 minutes just in case). I appreciate the question though because I will absolutely test this and figure it out! Thank you!
If made ahead, do you think it could be reheated in a crockpot? Or would it get to mushy? Need to serve to a large crowd and would like to keep it warm…thanks
Hi Sue! I think it would be fine reheated in a crock pot. Because it’s cooked pilaf-style (where you toasted the grains in the beginning), that really helps it from getting overly mushy/sticky down the line. I’ve reheated leftovers many times and haven’t had any problems. Good luck, I hope your guests love it! Thanks for your comment.